1.介绍
http-server 是一个简单的零配置命令行HTTP服务器, 基于 Node.js,如果你不想重复的写 nodeJs 的 web-server.js, 则可以使用这个。
2.安装
npm install -g http-server
安装成功如下:

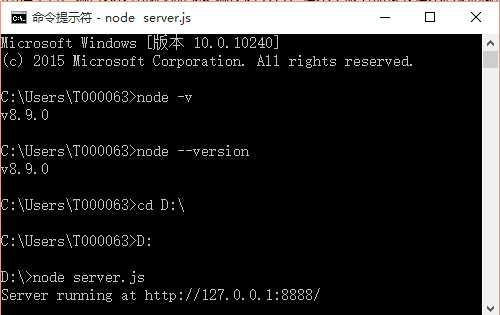
3.使用
在站点目录下开启命令行输入
http-server
运行结果如图:

4.http-server一些参数介绍
-p 端口号 (默认 8080)
-a IP 地址 (默认 0.0.0.0)
-d 显示目录列表 (默认 'True')
-i 显示 autoIndex (默认 'True')
-e or –ext 如果没有提供默认的文件扩展名(默认 'html')
-s or –silent 禁止日志信息输出
–cors 启用 CORS via the Access-Control-Allow-Origin header
-o 在开始服务后打开浏览器
-c 为 cache-control max-age header 设置Cache time(秒) , e.g. -c10 for 10 seconds (defaults to '3600'). 禁用 caching, 则使用 -c-1.
-U 或 –utc 使用UTC time 格式化log消息
-P or --proxy Proxies all requests which can't be resolved locally to the given url. e.g.: -P http://someurl.com
-S or –ssl 启用 https
-C or –cert ssl cert 文件路径 (default: cert.pem)
-K or –key Path to ssl key file (default: key.pem).
-r or –robots Provide a /robots.txt (whose content defaults to 'User-agent: *\nDisallow: /')
-h or –help 打印以上列表并退出
下面关于Node.js的内容你可能也喜欢:
Node.js 的详细介绍:请点这里
Node.js 的下载地址:请点这里


 京公网安备 11010802041100号