Filebeat
作为一款轻量级工具,基本解压之后,修改一下配置就可以直接使用了
在生产环境中,经常使用filebeat+logstash作为采集数据的解决方案之一
因为由于logstash是基于jvm(栈,堆,GC区…)比较占用内存,所以一般会在采集机器上安装filebeat,然后上报到一台服务器的logstash,这样就可以避免因采集数据而占用过多资源的情况
1.安装filebeat 6.4.0
由于公司使用的是6.4.0,这边也就沿用了
https://www.elastic.co/cn/downloads/past-releases/filebeat-6-4-0
直接下载解压

2.使用
通过alt+p 打开linux服务器的ftp,进行上传
2.1解压
2.2修改配置
修改配置文件filebeat.yml
filebeat:prospectors:- input_type: log paths:- /logall/file/filebeat/filebeat-input.log output.logstash:hosts: ["localhost:5044"]
2.3启动filebeat
./filebeat -e -c configs/filebeat-logstash.yml

发送到logstash
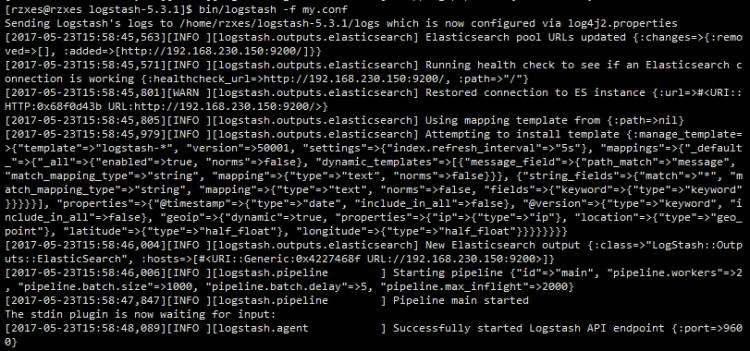
2.4启动logstash
保证数据对接成功
修改配置
input {beats {port => "5044"}
}output{file{path => ['/logall/data/log/filebeat/filebeat-output.log']
}
}
因为是同一家公司的产品,所以又专门的对接方式
启动logstash
bin/logstash -f config/myconfigs/filebeat.conf

3.测试
对filebeat监控的文件进行写入

logstash成功接收到数据

并写入到输出目录


 京公网安备 11010802041100号