使用readthedoc快速创建在线文档
分为两步走
- 本地创建文档
- 部署到网络
本地创建文档
先安装sphinx
pip install sphinx
然后在你的文件夹内
sphinx-quickstart
一系列默认回车即可
最后编译
make html
会产生_build文件夹之类的。
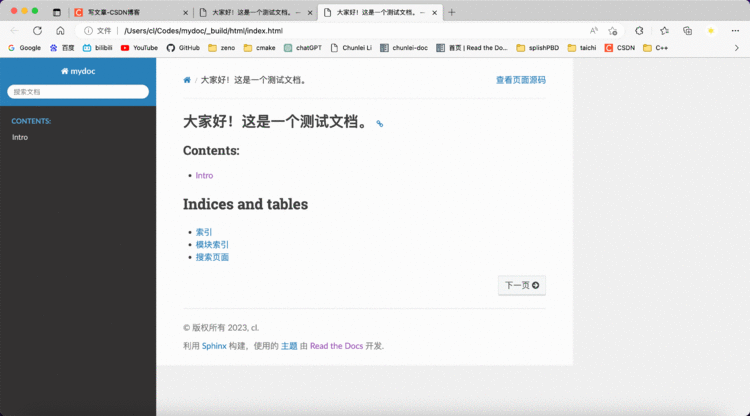
用浏览器打开_build/html/index.html
以后我们每做一点更改,都可以make一下来看看结果
改变主题为readthedoc
刚才实际上属于sphinx的部分,我们现在改变主题为readthedoc
首先安装
pip install sphinx_rtd_theme
然后更改conf.py
html_theme = 'sphinx_rtd_theme'
增加markdown支持
markdown的语法要比默认的rst简单一些,因此我们用markdown语法。
安装myST
pip install myst-parser
然后在conf.py中
extensions = ["myst_parser"]
source_suffix = {
    '.rst': 'restructuredtext',
    '.md': 'markdown',
}
增加内容
index.rst是主页
我们来看看
大家好!这是一个测试文档。
=================================
.. toctree::
   :maxdepth: 2
   :caption: Contents:

   Intro
Indices and tables
==================
* :ref:`genindex`
* :ref:`modindex`
* :ref:`search`
其中
.. toctree::
   :maxdepth: 2
   :caption: Contents:

   Intro
这部分的含义是,我们增加一个页面。这个页面的侧边目录显示为Contents
然后其内容是根据Intro.md来决定的

markdown语法
我们接下来看看Inro.md
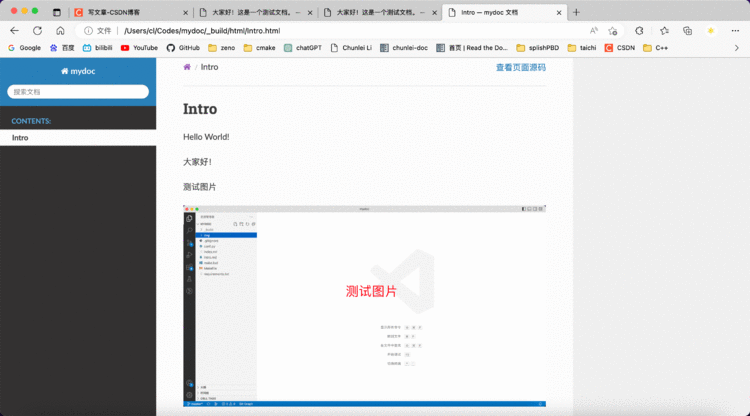
# Intro
Hello World!
大家好!
测试图片

markdown解析器改为myST

部署到网络
将你的文件夹推送到github.
到官网注册一个账号
https://readthedocs.org/
链接你的账号到github之后
然后点击导入项目(Import project)

然后会自动开始构建,你可以到构建看看构建的过程

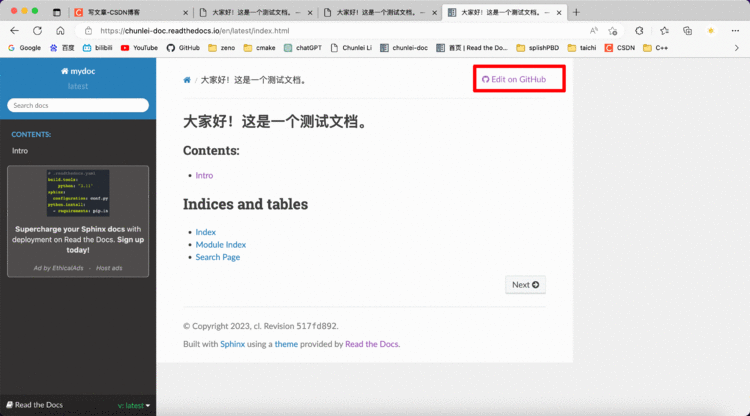
构建完成后点击阅读文档即可看到在线文档
可以点击Edit on github来更改源码。非常方便。

另外,我们只要git push,就会自动更新在线文档