作者:季孙意如 | 来源:互联网 | 2023-07-06 17:55
PhotonServer下载:https:www.photonengine.comen-USsdks#realtime解压打开deploy根据电脑打开bin_Win3
PhotonServer
下载:https://www.photonengine.com/en-US/sdks#realtime


解压

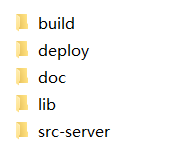
打开deploy
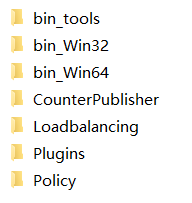
根据电脑打开bin_Win32/bin_Win64
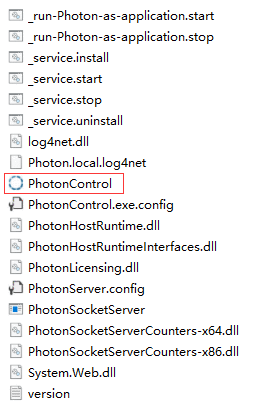
启动PhotonControl

创建服务器
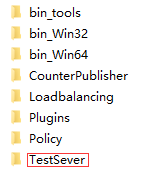
在deploy文件夹中创建新文件夹
在新建的文件夹中创建新文件夹并取名为bin

打开VS,新建项目

可以删除class1
添加引用(浏览,找到上面解压的lib文件夹)
- ExitGames.Logging.Log4Net.dll
- log4net.dll
- Photon.SocketServer.dll
- ExitGamesLibs.dll
- PhotonHostRuntimeInterfaces.dll

创建类并公开
using System;
using System.Collections.Generic;
using System.Linq;
using System.Text;
using System.Threading.Tasks;namespace TestSever
{public class TestSeverClass{}
}
将此类设为入口
using System;
using System.Collections.Generic;
using System.Linq;
using System.Text;
using System.Threading.Tasks;
using Photon.SocketServer;namespace TestSever
{public class TestSeverClass : ApplicationBase{//有客户端连接时调用protected override PeerBase CreatePeer(InitRequest initRequest){PeerClass peer = new PeerClass(initRequest);return peer;}//初始化时protected override void Setup(){}//关闭服务器时protected override void TearDown(){}}
}
using Photon.SocketServer;
using PhotonHostRuntimeInterfaces;
using System;
using System.Collections.Generic;
using System.Linq;
using System.Text;
using System.Threading.Tasks;namespace TestSever
{public class PeerClass : ClientPeer{public PeerClass(InitRequest initRequest):base(initRequest){}protected override void OnDisconnect(DisconnectReason reasonCode, string reasonDetail){}protected override void OnOperationRequest(OperationRequest operationRequest, SendParameters sendParameters){}}
}
修改输出路径
右击命名空间,选择属性,选择生成,修改输出路径,修改为前面自己创建的bin文件夹。
再次右击命名空间,选择生成

找到bin_Win64/bin_Win32中配置文件photonServer.config并打开(拖到VS即可)
在打开的XML文件中的间写入下面节点(根据实际情况自行修改)并保存。
重新启动打开PhotonControl
即可看到自己添加的服务器。
选择此服务器后选择start as application即可启动。
选择stop application即停止。


 京公网安备 11010802041100号