官网下载系统镜像,选择合适的桌面系统。(本人选择了KDE)使用rufus制作启动盘。
双系统安装需要将/boot/efi挂载到win10的efi分区/ (根分区) 15-20 GB/boot 512 MB/var 12-16 GBlinuxswap 4 GB/home >20GB
双系统安装需要将/boot/efi挂载到win10的efi分区
System Settings->Workspace->Workspace Behavior->General Behavior->Click behavior
执行命令:sudo pacman-mirrors -i -c China -m rank命令执行结束之后弹出窗口选择源,选择速度最快的即可。修改/etc/pacman.conf在文件末尾加上:[archlinuxcn]SigLevel = Optional TrustedOnlyServer = https://mirrors.ustc.edu.cn/archlinuxcn/$arch执行以下命令:sudo pacman -Syy #本地软件与软件仓库进行同步sudo pacman -S archlinuxcn-keyring源已经更换成功。可以更新一下系统:sudo pacman -Syyu
执行命令:
sudo pacman-mirrors -i -c China -m rank
命令执行结束之后弹出窗口选择源,选择速度最快的即可。修改/etc/pacman.conf在文件末尾加上:
/etc/pacman.conf
[archlinuxcn]SigLevel = Optional TrustedOnlyServer = https://mirrors.ustc.edu.cn/archlinuxcn/$arch
执行以下命令:
sudo pacman -Syy #本地软件与软件仓库进行同步sudo pacman -S archlinuxcn-keyring
源已经更换成功。可以更新一下系统:
sudo pacman -Syyu
1.输入法sudo pacman -S fcitx-im #全部安装sudo pacman -S fcitx-configtool在~/.xprofile文件(没有则需要新建)中加入:export GTK_IM_MODULE=fcitxexport QT_IM_MODULE=fcitxexport XMODIFIERS="@im=fcitx"重启后输入法即可使用。2.Tim/WechatKDE桌面需要先安装gnome-settings-daemonsudo pacman -S gnome-settings-daemon系统设置->开机或关机->自动启动->添加脚本->输入/usr/lib/gsd-xsettings安装包管理器以及Tim,Wechatsudo pacman -S yayyay -S deepin.com.qq.officeyay -S deepin-wine-wechat重启即可使用Tim,Wechat3.安装常用工具yay -S vimyay -S wps-officeyay -S ttf-wps-fontsyay -S typorayay -S google-chrome
1.输入法
sudo pacman -S fcitx-im #全部安装sudo pacman -S fcitx-configtool
在~/.xprofile文件(没有则需要新建)中加入:
~/.xprofile
export GTK_IM_MODULE=fcitxexport QT_IM_MODULE=fcitxexport XMODIFIERS="@im=fcitx"
重启后输入法即可使用。
2.Tim/Wechat
KDE桌面需要先安装gnome-settings-daemon
sudo pacman -S gnome-settings-daemon
系统设置->开机或关机->自动启动->添加脚本->输入/usr/lib/gsd-xsettings安装包管理器以及Tim,Wechat
系统设置->开机或关机->自动启动->添加脚本->输入/usr/lib/gsd-xsettings
sudo pacman -S yayyay -S deepin.com.qq.officeyay -S deepin-wine-wechat
重启即可使用Tim,Wechat
3.安装常用工具
yay -S vimyay -S wps-officeyay -S ttf-wps-fontsyay -S typorayay -S google-chrome
系统主题System Settings -> Appearance -> Global Theme -> Get New Global Themes选择合适主题安装。终端Settings -> Appearance -> Get New选择合适颜色以及字体。
System Settings -> Appearance -> Global Theme -> Get New Global Themes
Settings -> Appearance -> Get New
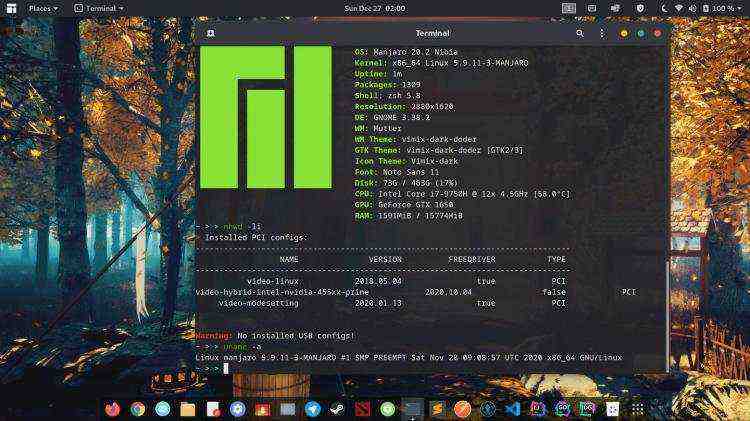
manjaro自带zsh,未自带可使用yay -S zsh安装查看已有shellcat /etc/shells可在终端设置中切换为zsh也可通过命令切换:chsh -s /bin/zsh一般需要重启终端生效安装 oh-my-zshsh -c "$(curl -fsSL https://raw.github.com/robbyrussell/oh-my-zsh/master/tools/install.sh)"#可能需要代理zsh主题通过如下命令可以查看可用的Theme:ls ~/.oh-my-zsh/themes修改主题,编辑~/.zshrc文件,改为ZSH_THEME="agnoster"。zsh拓展在~/.zshrc中找到plugins关键字,就可以自定义启用的插件了,系统默认加载git。zsh-autosuggestions 插件安装git clone git://github.com/zsh-users/zsh-autosuggestions $ZSH_CUSTOM/plugins/zsh-autosuggestionszsh-syntax-highlighting 插件安装git clone https://github.com/zsh-users/zsh-syntax-highlighting.git ${ZSH_CUSTOM:-~/.oh-my-zsh/custom}/plugins/zsh-syntax-highlighting在 ~/.zshrc 中配置plugins=( git zsh-syntax-highlighting zsh-autosuggestions)
manjaro自带zsh,未自带可使用yay -S zsh安装查看已有shell
yay -S zsh
cat /etc/shells
可在终端设置中切换为zsh也可通过命令切换:
chsh -s /bin/zsh
一般需要重启终端生效安装 oh-my-zsh
sh -c "$(curl -fsSL https://raw.github.com/robbyrussell/oh-my-zsh/master/tools/install.sh)"#可能需要代理
zsh主题通过如下命令可以查看可用的Theme:
ls ~/.oh-my-zsh/themes
修改主题,编辑~/.zshrc文件,改为ZSH_THEME="agnoster"。zsh拓展在~/.zshrc中找到plugins关键字,就可以自定义启用的插件了,系统默认加载git。zsh-autosuggestions 插件安装
~/.zshrc
ZSH_THEME="agnoster"
plugins
git clone git://github.com/zsh-users/zsh-autosuggestions $ZSH_CUSTOM/plugins/zsh-autosuggestions
zsh-syntax-highlighting 插件安装
git clone https://github.com/zsh-users/zsh-syntax-highlighting.git ${ZSH_CUSTOM:-~/.oh-my-zsh/custom}/plugins/zsh-syntax-highlighting
在 ~/.zshrc 中配置
plugins=( git zsh-syntax-highlighting zsh-autosuggestions)
可以安装别人的配置,如:https://github.com/amix/vimrc
zsh+on-my-zsh配置教程指南(程序员必备)【已备份】Manjaro安装,配置,美化指南


 京公网安备 11010802041100号