作者:8877Lyt_953 | 来源:互联网 | 2023-08-22 17:07
环境准备角色IP数据库-mariadb-server192.168.100.9web-httpd192.168.100.10一、准备数据库1、数据库安装[root@centos_9
环境准备
角色 |
IP |
数据库-mariadb-server |
192.168.100.9 |
web-httpd |
192.168.100.10 |
一、准备数据库
1、数据库安装
[root@centos_9 ~]# yum install -y mariadb-server
[root@centos_9 ~]# systemctl start mariadb
2、在mysql server上授权rsyslog能连接至当前服务器
[root@centos_9 ~]# mysql -e "grant all on Syslog.* to 'Syslog'@'192.168.100.10' identified by '123456'"
3、在rsyslog服务器上安装mysql模块相关的程序包
[root@centos_9 ~]# yum install rsyslog-mysql -y
4、为rsyslog创建数据库及表;
[root@centos_9 ~]# rpm -ql rsyslog-mysql
/usr/lib64/rsyslog/ommysql.so
/usr/share/doc/rsyslog-8.24.0/mysql-createDB.sql
[root@centos_9 ~]# mysql 二、准备web
1、在rsyslog服务器上准备amp或nmp组合
[root@centos_10 ~]# yum install httpd php php-mysql php-gd -y
2、安装LogAnalyzer
[root@centos_10 ~]# cd /var/www/html/
[root@centos_10 html]# tar xvf loganalyzer-4.1.11.tar.gz
[root@centos_10 html]# mv loganalyzer-4.1.11 logs
3、将/var/www/html/logs中的src复制出来
[root@centos_10 ~]# mv src/ ../log
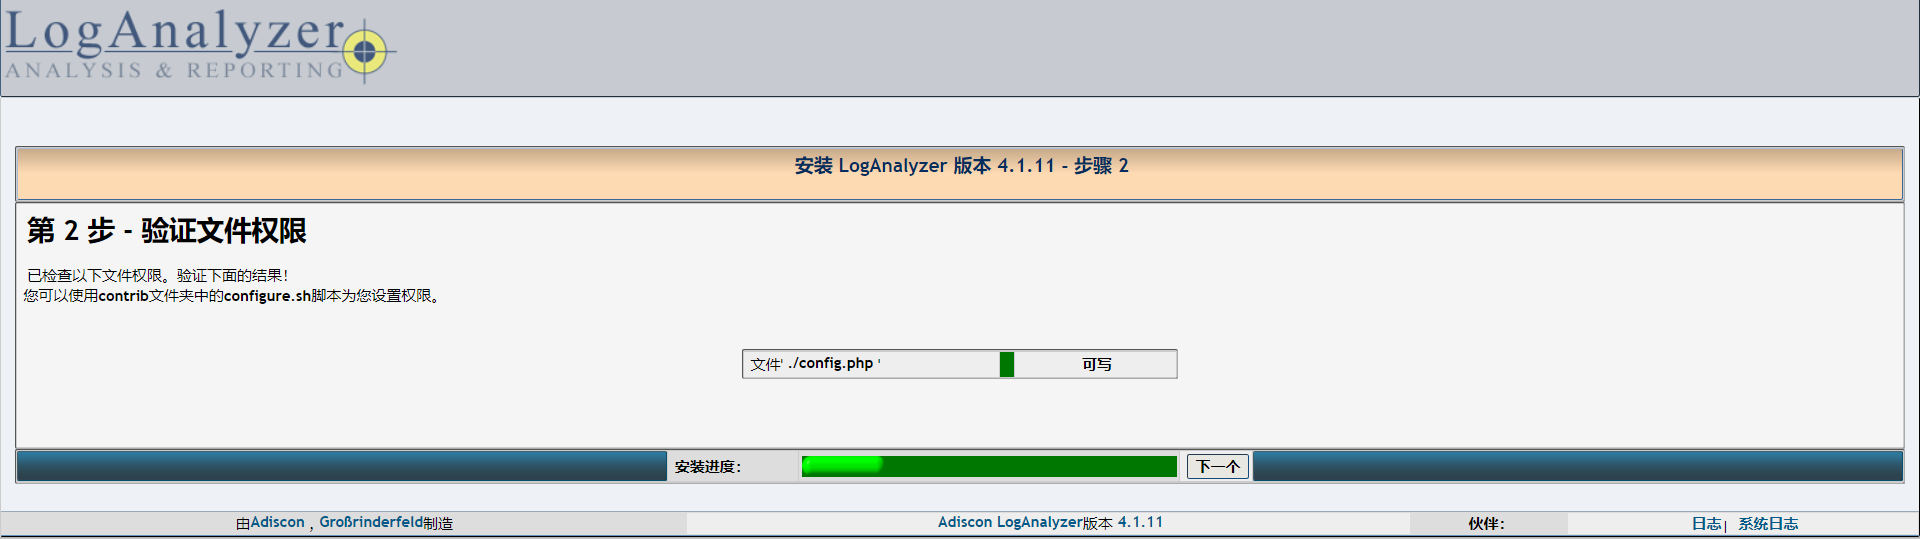
4、创建congfig.php 数据因为数据需要写入
[root@centos_10 ~]# touch config.php
[root@centos_10 ~]# chmod 666 config.php
5、重启mariadb,httpd
[root@centos_10 ~]# systemctl restart mariadb
[root@centos_10 ~]# systemctl restart httpd
6、在rsyslog服务器上安装mysql模块相关的程序包
[root@centos_10 ~]# yum install rsyslog-mysql -y
8、 配置rsyslog将日志保存到mysql中
[root@centos_10 ~]# vim /etc/rsyslog.conf
#### MODULES #### 引用模块
$ModLoad ommysql
#### RULES ####
*.info;mail.none;authpriv.none;cron.none :ommysql:192.168.100.10,Syslog,Syslog,123456 #连接数据库,用户名,库名,密码
[root@centos_10 ~]# systemctl restart rsyslog.service
9、安全加强
cd /var/www/html/log
chmod 644 config.php
三、访问


 京公网安备 11010802041100号