看下这个浮点数计算的例子吧:
public class DoubleTest {public static void main(String[] args) {System.out.println(0.1+0.2);System.out.println(1.0-0.8);System.out.println(4.015*100);System.out.println(123.3/100);double amount1 = 3.15;double amount2 = 2.10;if (amount1 - amount2 == 1.05){System.out.println("OK");}}
}
运行结果:
0.30000000000000004
0.19999999999999996
401.49999999999994
1.2329999999999999
可以发现,结算结果跟我们预期不一致,其实是因为计算机是以二进制存储数值的,对于浮点数也是。对于计算机而言,0.1无法精确表达,这就是为什么浮点数会导致精确度缺失的。因此,金额计算,一般都是用BigDecimal 类型
对于以上例子,我们改为BigDecimal,再看看运行效果:
System.out.println(new BigDecimal(0.1).add(new BigDecimal(0.2)));
System.out.println(new BigDecimal(1.0).subtract(new BigDecimal(0.8)));
System.out.println(new BigDecimal(4.015).multiply(new BigDecimal(100)));
System.out.println(new BigDecimal(123.3).divide(new BigDecimal(100)));
运行结果:
0.3000000000000000166533453693773481063544750213623046875
0.1999999999999999555910790149937383830547332763671875
401.49999999999996802557689079549163579940795898437500
1.232999999999999971578290569595992565155029296875
发现结果还是不对,其实,使用 BigDecimal 表示和计算浮点数,必须使用字符串的构造方法来初始化 BigDecimal,正例如下:
public class DoubleTest {public static void main(String[] args) {System.out.println(new BigDecimal("0.1").add(new BigDecimal("0.2")));System.out.println(new BigDecimal("1.0").subtract(new BigDecimal("0.8")));System.out.println(new BigDecimal("4.015").multiply(new BigDecimal("100")));System.out.println(new BigDecimal("123.3").divide(new BigDecimal("100")));}
}
在进行金额计算,使用BigDecimal的时候,我们还需要注意BigDecimal的几位小数点,还有它的八种舍入模式哈。
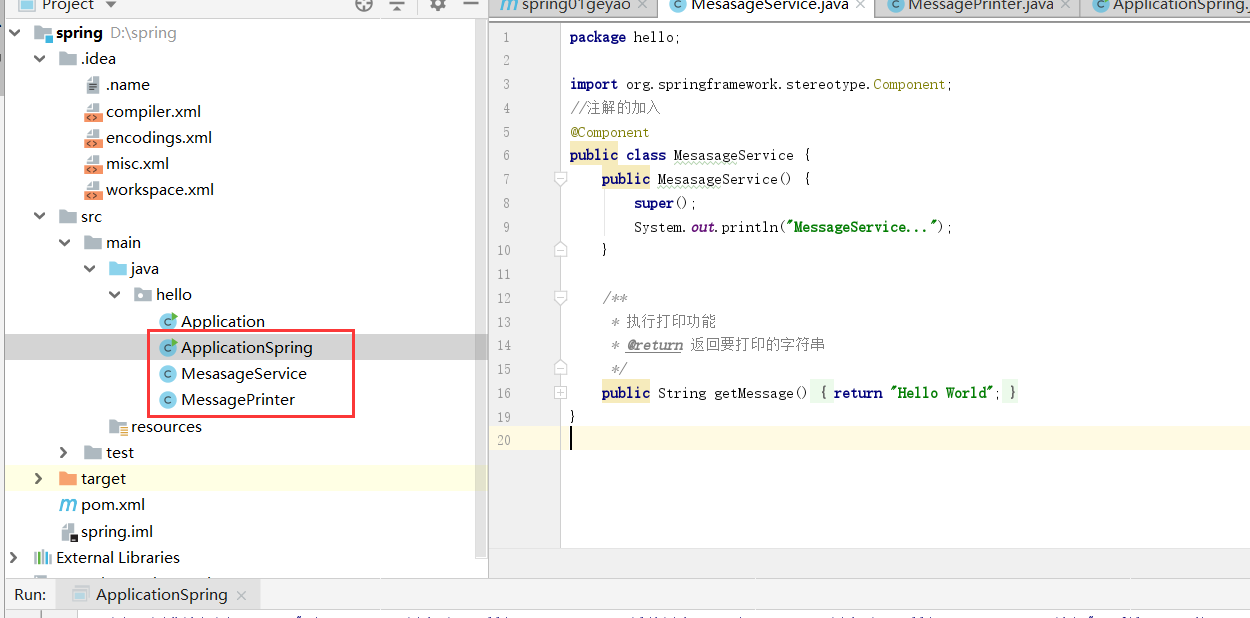
之前看到项目有类似的代码。静态变量依赖于spring容器的bean。
private static SmsService smsService = SpringContextUtils.getBean(SmsService.class);
这个静态的smsService有可能获取不到的,因为类加载顺序不是确定的,正确的写法可以这样,如下:
private static SmsService smsService =null;//使用到的时候采取获取public static SmsService getSmsService(){if(smsService==null){smsService = SpringContextUtils.getBean(SmsService.class);}return smsService;}
public class FileReaderTest {public static void main(String[] args) throws IOException {Files.deleteIfExists(Paths.get("jay.txt"));Files.write(Paths.get("jay.txt"), "你好,捡田螺的小男孩".getBytes(Charset.forName("GBK")));System.out.println("系统默认编码:"+Charset.defaultCharset());char[] chars = new char[10];String content = "";try (FileReader fileReader = new FileReader("jay.txt")) {int count;while ((count = fileReader.read(chars)) != -1) {content += new String(chars, 0, count);}}System.out.println(content);}
}
运行结果:
系统默认编码:UTF-8
���,�����ݵ�С�к�
从运行结果,可以知道,系统默认编码是utf8,demo中读取出来,出现乱码了。为什么呢?
FileReader 是以当前机器的默认字符集来读取文件的,如果希望指定字符集的话,需要直接使用 InputStreamReader 和 FileInputStream。
正例如下:
public class FileReaderTest {public static void main(String[] args) throws IOException {Files.deleteIfExists(Paths.get("jay.txt"));Files.write(Paths.get("jay.txt"), "你好,捡田螺的小男孩".getBytes(Charset.forName("GBK")));System.out.println("系统默认编码:"+Charset.defaultCharset());char[] chars = new char[10];String content = "";try (FileInputStream fileInputStream = new FileInputStream("jay.txt");InputStreamReader inputStreamReader = new InputStreamReader(fileInputStream, Charset.forName("GBK"))) {int count;while ((count = inputStreamReader.read(chars)) != -1) {content += new String(chars, 0, count);}}System.out.println(content);}
}
public class IntegerTest {public static void main(String[] args) {Integer a = 127;Integer b = 127;System.out.println("a==b:"+ (a == b));Integer c = 128;Integer d = 128;System.out.println("c==d:"+ (c == d));}
}
运行结果:
a==b:true
c==d:false
为什么Integer值如果是128就不相等了呢?编译器会把 Integer a = 127 转换为 Integer.valueOf(127)。 我们看下源码。
public static Integer valueOf(int i) {if (i >&#61; IntegerCache.low && i <&#61; IntegerCache.high)return IntegerCache.cache[i &#43; (-IntegerCache.low)];return new Integer(i);}
可以发现&#xff0c;i在一定范围内&#xff0c;是会返回缓存的。
默认情况下呢&#xff0c;这个缓存区间就是[-128, 127]&#xff0c;所以我们业务日常开发中&#xff0c;如果涉及Integer值的比较&#xff0c;需要注意这个坑哈。还有呢&#xff0c;设置 JVM 参数加上 -XX:AutoBoxCacheMax&#61;1000&#xff0c;是可以调整这个区间参数的&#xff0c;大家可以自己试一下哈
使用ThreadLocal缓存信息&#xff0c;有可能出现信息错乱的情况。看下这个例子吧。
private static final ThreadLocal
public Map wrong(&#64;RequestParam("userId") Integer userId) {//设置用户信息之前先查询一次ThreadLocal中的用户信息String beforeUser &#61; Thread.currentThread().getName() &#43; ":" &#43; currentUser.get();//设置用户信息到ThreadLocalcurrentUser.set(userId);//设置用户信息之后再查询一次ThreadLocal中的用户信息String afterUser &#61; Thread.currentThread().getName() &#43; ":" &#43; currentUser.get();//汇总输出两次查询结果Map map &#61; new HashMap();map.put("before", beforeUser);map.put("after", afterUser);return map;
}
按理说&#xff0c;每次获取的beforeUser应该都是null&#xff0c;但是呢&#xff0c;程序运行在 Tomcat 中&#xff0c;执行程序的线程是 Tomcat 的工作线程&#xff0c;而 Tomcat 的工作线程是基于线程池的。
线程池会重用固定的几个线程&#xff0c;一旦线程重用&#xff0c;那么很可能首次从 ThreadLocal 获取的值是之前其他用户的请求遗留的值。这时&#xff0c;ThreadLocal 中的用户信息就是其他用户的信息。
把tomcat的工作线程设置为1
server.tomcat.max-threads&#61;1
用户1&#xff0c;请求过来&#xff0c;会有以下结果&#xff0c;符合预期&#xff1a; 
用户2请求过来&#xff0c;会有以下结果&#xff0c;不符合预期&#xff1a;
因此&#xff0c;使用类似 ThreadLocal 工具来存放一些数据时&#xff0c;需要特别注意在代码运行完后&#xff0c;显式地去清空设置的数据&#xff0c;正例如下&#xff1a;
&#64;GetMapping("right")
public Map right(&#64;RequestParam("userId") Integer userId) {String beforeUser &#61; Thread.currentThread().getName() &#43; ":" &#43; currentUser.get();currentUser.set(userId);try {String afterUser &#61; Thread.currentThread().getName() &#43; ":" &#43; currentUser.get();Map map &#61; new HashMap();map.put("before", beforeUser);map.put("after", afterUser);return map;} finally {//在finally代码块中删除ThreadLocal中的数据&#xff0c;确保数据不串currentUser.remove();}
}
这一点严格来说&#xff0c;应该不算坑&#xff0c;但是呢&#xff0c;大家写代码的时候&#xff0c;有些朋友容易疏忽了。
/** 关注公众号&#xff1a;* 捡田螺的小男孩*/
public class SwitchTest {public static void main(String[] args) throws InterruptedException {System.out.println("testSwitch结果是&#xff1a;"&#43;testSwitch("1"));}private static String testSwitch(String key) {switch (key) {case "1":System.out.println("1");case "2":System.out.println(2);return "2";case "3":System.out.println("3");default:System.out.println("返回默认值");return "4";}}
}
输出结果&#xff1a;
测试switch
1
2
testSwitch结果是&#xff1a;2
switch 是会沿着case一直往下匹配的&#xff0c;知道遇到return或者break。 所以&#xff0c;在写代码的时候留意一下&#xff0c;是不是你要的结果。
public class ArrayAsListTest {public static void main(String[] args) {int[] array &#61; {1, 2, 3};List list &#61; Arrays.asList(array);System.out.println(list.size());}
}
运行结果&#xff1a;
1
Arrays.asList源码如下&#xff1a;
public static
}
public class ArrayAsListTest {public static void main(String[] args) {String[] array &#61; {"1", "2", "3"};List list &#61; Arrays.asList(array);list.add("5");System.out.println(list.size());}
}
运行结果&#xff1a;
Exception in thread "main" java.lang.UnsupportedOperationExceptionat java.util.AbstractList.add(AbstractList.java:148)at java.util.AbstractList.add(AbstractList.java:108)at object.ArrayAsListTest.main(ArrayAsListTest.java:11)
Arrays.asList 返回的 List 并不是我们期望的 java.util.ArrayList&#xff0c;而是 Arrays 的内部类ArrayList。内部类的ArrayList没有实现add方法&#xff0c;而是父类的add方法的实现&#xff0c;是会抛出异常的呢。
public class ArrayAsListTest {public static void main(String[] args) {String[] arr &#61; {"1", "2", "3"};List list &#61; Arrays.asList(arr);arr[1] &#61; "4";System.out.println("原始数组"&#43;Arrays.toString(arr));System.out.println("list数组" &#43; list);}
}
运行结果&#xff1a;
原始数组[1, 4, 3]
list数组[1, 4, 3]
从运行结果可以看到&#xff0c;原数组改变&#xff0c;Arrays.asList转化来的list也跟着改变啦&#xff0c;大家使用的时候要注意一下哦&#xff0c;可以用new ArrayList(Arrays.asList(arr))包一下的。
public class ArrayListTest {public static void main(String[] args) {List
}
因为返回的是Object类型&#xff0c;Object类型数组强转String数组&#xff0c;会发生ClassCastException。解决方案是&#xff0c;使用toArray()重载方法toArray(T[] a)
String[] array1 &#61; list.toArray(new String[0]);//可以正常运行
public void wrong1(){try {readFile();} catch (IOException e) {//没有把异常e取出来&#xff0c;原始异常信息丢失 }
}public void wrong2(){try {readFile();} catch (IOException e) {//只保留了异常消息&#xff0c;栈没有记录啦log.error("文件读取错误, {}", e.getMessage());}
}
正确的打印方式&#xff0c;应该酱紫
public void right(){try {readFile();} catch (IOException e) {//把整个IO异常都记录下来&#xff0c;而不是只打印消息log.error("文件读取错误", e);}
}
public void testStaticExeceptionOne{try {exceptionOne();} catch (Exception ex) {log.error("exception one error", ex);}try {exceptionTwo();} catch (Exception ex) {log.error("exception two error", ex);}
}private void exceptionOne() {//这里有问题throw Exceptions.ONEORTWO;
}private void exceptionTwo() {//这里有问题throw Exceptions.ONEORTWO;
}
exceptionTwo抛出的异常&#xff0c;很可能是exceptionOne的异常哦。正确使用方法&#xff0c;不是静态变量&#xff0c;而是应该new 一个出来。
private void exceptionTwo() {throw new BusinessException("业务异常", 0001);
}
public void wrong(){try {readFile();} catch (IOException e) {//生产环境别用它e.printStackTrace();}
}
因为它占用太多内存&#xff0c;造成锁死&#xff0c;并且&#xff0c;日志交错混合&#xff0c;也不易读。正确使用如下&#xff1a;
//放弃使用e.printStackTrace();
log.error("异常日志正常打印方式",e);
public class ThreadExceptionTest {public static void main(String[] args) {ExecutorService executorService &#61; Executors.newFixedThreadPool(10);IntStream.rangeClosed(1, 10).forEach(i -> executorService.submit(()-> {if (i &#61;&#61; 5) {System.out.println("发生异常啦");throw new RuntimeException("error");}System.out.println("当前执行第几:" &#43; Thread.currentThread().getName() );}));executorService.shutdown();}
}
运行结果&#xff1a;
当前执行第几:pool-1-thread-1
当前执行第几:pool-1-thread-2
当前执行第几:pool-1-thread-3
当前执行第几:pool-1-thread-4
发生异常啦
当前执行第几:pool-1-thread-6
当前执行第几:pool-1-thread-7
当前执行第几:pool-1-thread-8
当前执行第几:pool-1-thread-9
当前执行第几:pool-1-thread-10
可以发现&#xff0c;如果是使用submit方法提交到线程池的异步任务&#xff0c;异常会被吞掉的&#xff0c;所以在日常发现中&#xff0c;如果会有可预见的异常&#xff0c;可以采取这几种方案处理&#xff1a;
public void wrong() {try {log.info("try");//异常丢失throw new RuntimeException("try");} finally {log.info("finally");throw new RuntimeException("finally");}
}
一个方法是不会出现两个异常的呢&#xff0c;所以finally的异常会把try的异常覆盖。正确的使用方式应该是&#xff0c;finally 代码块负责自己的异常捕获和处理。
public void right() {try {log.info("try");throw new RuntimeException("try");} finally {log.info("finally");try {throw new RuntimeException("finally");} catch (Exception ex) {log.error("finally", ex);}}
}
public class JSONTest {public static void main(String[] args) {Long idValue &#61; 3000L;Map
}
运行结果&#xff1a;
Exception in thread "main" 反序列化的类型是否为Integer&#xff1a;true
java.lang.ClassCastException: java.lang.Integer cannot be cast to java.lang.Longat object.JSONTest.main(JSONTest.java:24)
注意啦&#xff0c;序列化为Json串后&#xff0c;Josn串是没有Long类型呢。而且反序列化回来如果也是Object接收&#xff0c;数字小于Interger最大值的话&#xff0c;给转成Integer啦&#xff01;
ExecutorService executor &#61; Executors.newFixedThreadPool(10);for (int i &#61; 0; i
IDE指定JVM参数&#xff1a;-Xmx8m -Xms8m :
运行结果&#xff1a; 
我们看下源码&#xff0c;其实newFixedThreadPool使用的是无界队列&#xff01;
public static ExecutorService newFixedThreadPool(int nThreads) {return new ThreadPoolExecutor(nThreads, nThreads,0L, TimeUnit.MILLISECONDS,new LinkedBlockingQueue
}public class LinkedBlockingQueue
...
}
newFixedThreadPool线程池的核心线程数是固定的&#xff0c;它使用了近乎于无界的LinkedBlockingQueue阻塞队列。当核心线程用完后&#xff0c;任务会入队到阻塞队列&#xff0c;如果任务执行的时间比较长&#xff0c;没有释放&#xff0c;会导致越来越多的任务堆积到阻塞队列&#xff0c;最后导致机器的内存使用不停的飙升&#xff0c;造成JVM OOM。
如果一次性把大文件或者数据库太多数据达到内存&#xff0c;是会导致OOM的。所以&#xff0c;为什么查询DB数据库&#xff0c;一般都建议分批。
读取文件的话&#xff0c;一般文件不会太大&#xff0c;才使用Files.readAllLines()。为什么呢&#xff1f;因为它是直接把文件都读到内存的&#xff0c;预估下不会OOM才使用这个吧&#xff0c;可以看下它的源码&#xff1a;
public static List
}
如果是太大的文件&#xff0c;可以使用Files.line()按需读取&#xff0c;当时读取文件这些&#xff0c;一般是使用完需要关闭资源流的哈
再日常开发中&#xff0c;这种代码实现经常可见&#xff1a;先查询是否有剩余可用的票&#xff0c;再去更新票余量。
if(selectIsAvailable(ticketId){	1、deleteTicketById(ticketId)	2、给现金增加操作
}else{	return “没有可用现金券”
}
如果是并发执行&#xff0c;很可能有问题的&#xff0c;应该利用数据库更新/删除的原子性&#xff0c;正解如下&#xff1a;
if(deleteAvailableTicketById(ticketId) &#61;&#61; 1){ 1、给现金增加操作
}else{ return “没有可用现金券”
}
低版本的MySQL支持的utf8编码&#xff0c;最大字符长度为 3字节&#xff0c;但是呢&#xff0c;存储表情需要4个字节&#xff0c;因此如果用utf8存储表情的话&#xff0c;会报SQLException: Incorrect string value: &#39;\xF0\x9F\x98\x84&#39; for column&#xff0c;所以一般用utf8mb4编码去存储表情。
日常业务开发中&#xff0c;我们经常跟事务打交道&#xff0c;事务失效主要有以下几个场景&#xff1a;
其中&#xff0c;最容易踩的坑就是后面两个&#xff0c;注解的事务方法给本类方法直接调用&#xff0c;伪代码如下&#xff1a;
public class TransactionTest{public void A(){//插入一条数据//调用方法B (本地的类调用&#xff0c;事务失效了)B();}### 最后**经过日积月累&#xff0c; 以下是小编归纳整理的深入了解Java虚拟机文档&#xff0c;希望可以帮助大家过关斩将顺利通过面试。**
由于整个文档比较全面&#xff0c;内容比较多&#xff0c;篇幅不允许&#xff0c;下面以截图方式展示 。如有需要获取资料文档的朋友&#xff0c;[可以点击这里免费获取](https://gitee.com/vip204888/java-p7)
**主要有以下几个场景&#xff1a;* 底层数据库引擎不支持事务
* 在非public修饰的方法使用
* rollbackFor属性设置错误
* 本类方法直接调用
* 异常被try...catch吃了&#xff0c;导致事务失效。其中&#xff0c;最容易踩的坑就是后面两个&#xff0c;**注解的事务方法给本类方法直接调用**&#xff0c;伪代码如下&#xff1a;
public class TransactionTest{
public void A(){
//插入一条数据
//调用方法B (本地的类调用&#xff0c;事务失效了)
B();
}
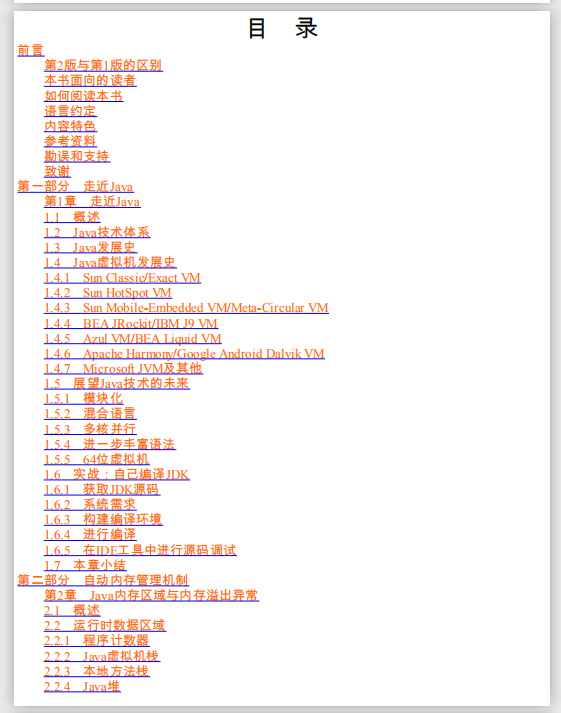
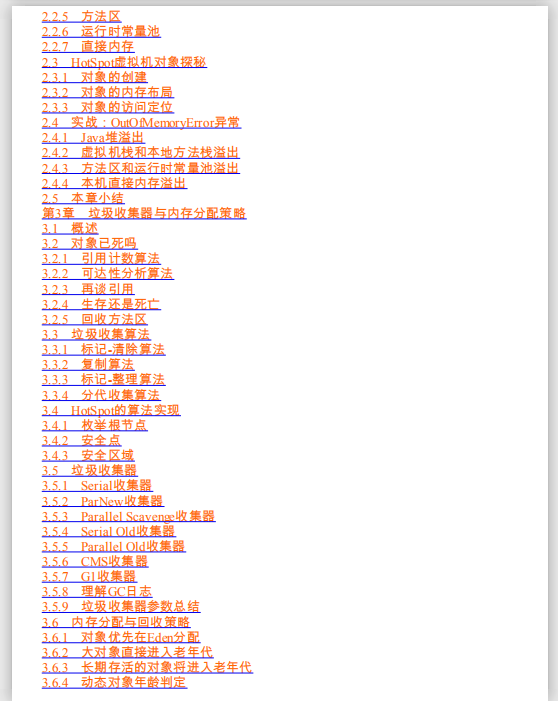
经过日积月累&#xff0c; 以下是小编归纳整理的深入了解Java虚拟机文档&#xff0c;希望可以帮助大家过关斩将顺利通过面试。
由于整个文档比较全面&#xff0c;内容比较多&#xff0c;篇幅不允许&#xff0c;下面以截图方式展示 。如有需要获取资料文档的朋友&#xff0c;可以点击这里免费获取
[外链图片转存中…(img-7e5v26Jn-1628133116821)]
[外链图片转存中…(img-9CODty7u-1628133116822)]
[外链图片转存中…(img-s60Sy7js-1628133116823)]
[外链图片转存中…(img-wVhDv9Ec-1628133116824)]
[外链图片转存中…(img-2AqwcakF-1628133116824)]
[外链图片转存中…(img-S1URUTgf-1628133116825)]
[外链图片转存中…(img-HTgiyBIj-1628133116826)]
由于篇幅限制&#xff0c;文档的详解资料太全面&#xff0c;细节内容太多&#xff0c;所以只把部分知识点截图出来粗略的介绍&#xff0c;每个小节点里面都有更细化的内容&#xff01;


 京公网安备 11010802041100号 | 京ICP备19059560号-4 | PHP1.CN 第一PHP社区 版权所有