10.32/10.33 rsync通过服务同步

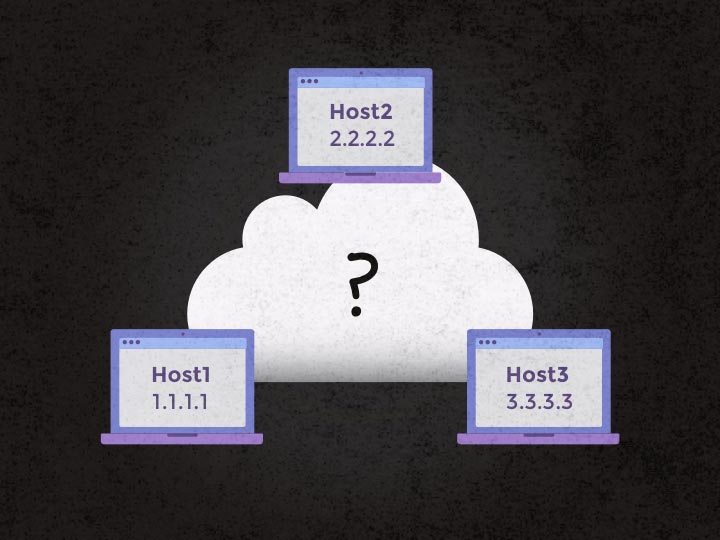
通过服务方式,这种方式首先开启一个服务,他的架构是cs架构,客户端,服务端, 服务端的话开启一个服务,rsnc服务,并且他要监听一个端口默认是873,而且这个端口是可以自定义的,我们开启完服务之后,客户端就可以通过873这个端口和服务端进行通信,可以传输数据,他的命令格式,看上图格式有两个冒号,在启动服务之前先编辑配置文件,配置文件默认的地址在/etc/rsyncd.conf 。也可以写到别的地方,但是写到别的地方之后,开启服务的时候用rsync --daemon的方式


rsyncd.con样例
port=873
log file=/var/log/rsync.log
pid file=/var/run/rsyncd.pid
address=192.168.133.130
[test]
path=/root/rsync
use chroot=true
max connections=4
read only=no
list=true
uid=root
gid=root
auth users=test
secrets file=/etc/rsyncd.passwd
hosts allow=192.168.133.132 1.1.1.1 2.2.2.2  192.168.133.0/24
上边的含义


把上面的内容粘贴到/etc/rsyncd.conf里面。编辑完后输入rsync --daemon启动服务

第一台机器创建目录 权限改成777

完成启动服务后,去第二个机器同步文件数据

实验成功

查看端口是否能通如果不同检查防火墙iptables


注:遇到两个冒号::的它用的格式就是rsyncd格式

10.34 linux系统日志

查看日志文件为/var/log/messages,他是核心系统日志文件,包含了系统启动时的引导消息,以及系统运行时的其他状态信息。I/O错误、网络错误和其他系统错误都会记录到这个文件里
查看日志

如果日志太多,可以切割日志,日志切割配置文件为、/etc/logrotate.conf 查看切割配置文件

查看切割的内容名称

命令dmesg可以显示系统的启动信息。如果某个硬件有问题(比如网卡),用这个命令也可以看到的,这个日志保存到内存当中的:

dmesg -c清空当前所有的dmesg日志

/var/log/dmesg根dmesg没有任何关联。、/ar/log/dmesg是系统启动时记录的一些信息。
last命令是调用文件/var/log/wtmp,last命令是用来查看正确的登录历史

lastb命令是查看登录失败的用户,对应的文件是/var/log/btmp.

安全日志/var/log/secure

10.35 screen工具

虚拟的屏幕,也可以认为虚拟的终端。如果有一个需求,让你去执行一个脚本,这个脚本执行时间很长可能需要一天一夜,而且这个脚本会输出一些东西出来,那就意味着脚本不能中途中断,登录服务器是通过远程操作的,跟网路息息相关,如果网络断开,执行的这个命令也就意外断开,为了保证这个脚本一天一夜不中断,那么得保证网络很强健,不能出任何的问题,但是不敢保证,有两个办法。第一个办法把这个任务丢到后台去,然后加个日志的输出
搞到后台首先安装:yum install -y screen


根据上图做实验按快捷键ctral a组合键再按d退出虚拟终端,但不是结束 操作完成后出现下图界面

screen -ls 查看虚拟终端列表

退回去进入指定的终端

回车会回到

然后退出screen虚拟终端直接输入exit即可

可以同时进入多个screen虚拟终端,但是多个终端运行的什么不知道,解决这个问题可以直接改个名字

扩展
- Linux日志文件总管logrotate http://linux.cn/article-4126-1.html
- xargs用法详解 http://blog.csdn.net/zhangfn2011/article/details/6776925


 京公网安备 11010802041100号