作者:兆华2502940257 | 来源:互联网 | 2023-09-05 14:56
前言:用Photoshop做UI设计多年来,让我们困惑的地方在于画板太多的情况下,Photoshop的源文件会非常大,占用电脑的资源的同时会对电脑的配置要求也高,容易卡崩溃。自从A
简介:多年来,我在Photoshop做了UI设计。 令我们困惑的是,在画板太多的情况下,Photoshop的源文件会变得非常大,在消耗电脑资源的同时,电脑的配置要求也会变高,容易卡崩溃。 Adobe XD问世后,让UI设计师设计APP\WEB\小程序等时,如果不带sketch使用Adobe XD,将大大减少电脑占用的资源和PS源文件过大带来的卡顿问题。 首先,让我们看一下Photoshop和XD中同一源文件所占的资源大小。
首先是Photoshop :
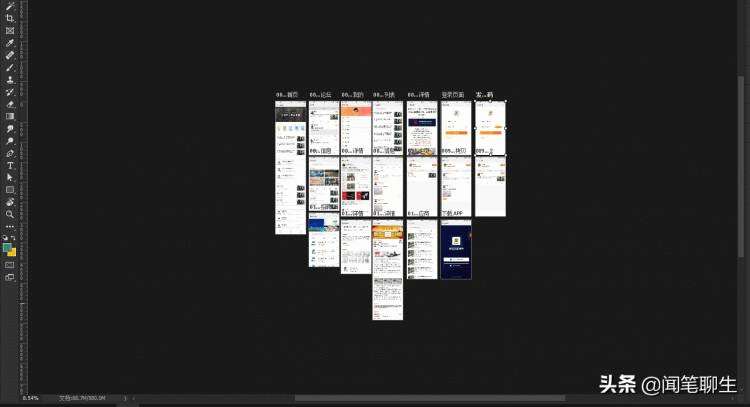
请看左下角的体积大小
这是一个简单的公众号网页,体积达到580MB。
接下来,让我们来看看页面上的更多XD版APP界面:
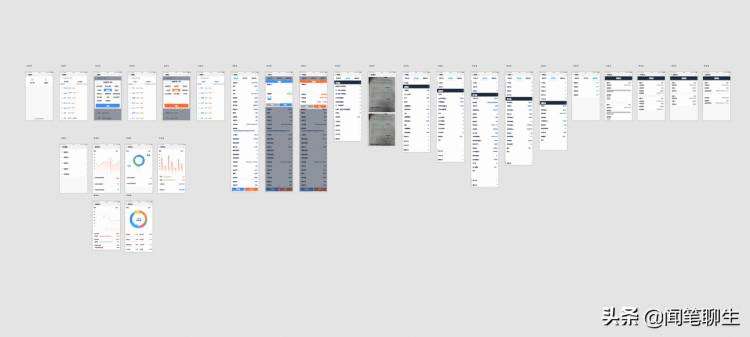
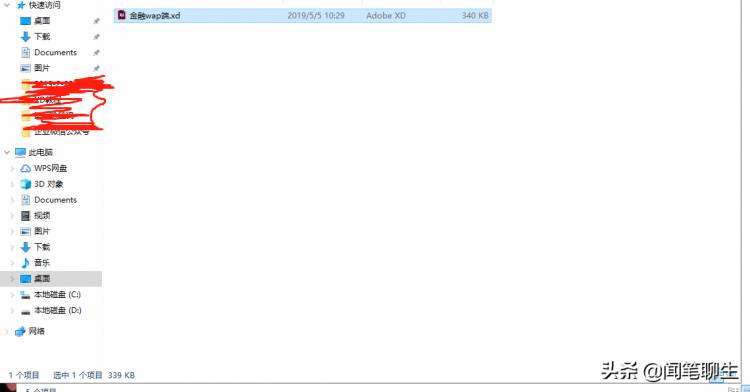
其体积将达到339KB。 没错,是国安。
在这样的源文件大小比较中,在电脑上操作的流畅度不是一般的高度。 adobe被誉为提高设计效率五倍的工具。 但是,它也不是PS的替代品。 和banner合成图像时还是需要依赖Photoshop。 目前,XD的功能正在不断改善和更新。 例如,在渐变的情况下,XD中只能实现2种颜色的渐变效果,而PS中的渐变效果是由多种颜色组合而成的。
详细介绍了XD在实际UI设计中的基本功能。
1 .图标:
在浏览器中打开https://axhub.im/icons/安装
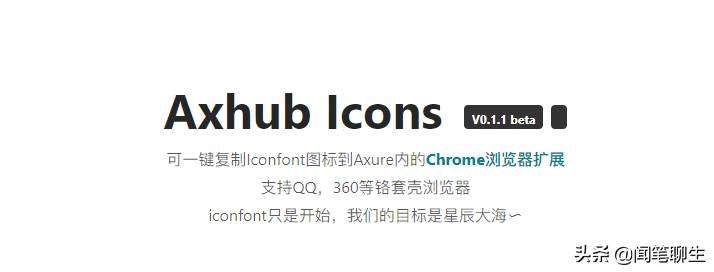
浏览器中会显示a的标记,点击。
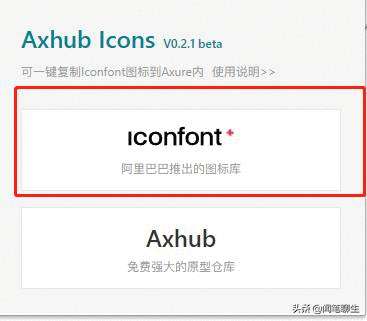
点击iconfont,跳转到阿里巴巴插图廊。
(以前用PS的时候,用蚂蚁做图标,只能下载png或者AI文件,修改颜色,或者用AI修改,复制到PS很麻烦。 安装Axhub icons adobe XD后,这样的操作就简单多了。 )
选择图标,然后向上移动鼠标。

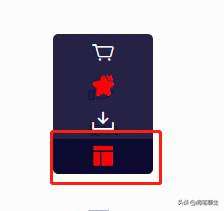
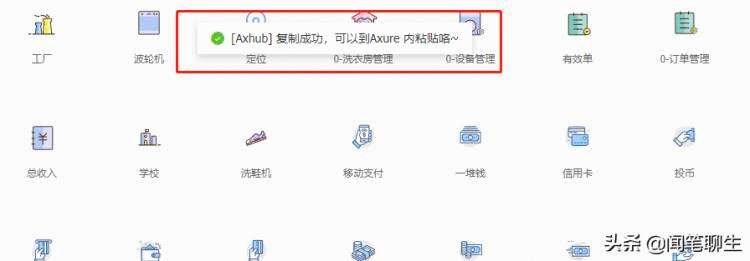
提示成功后,返回XD中,粘贴ctrl V。
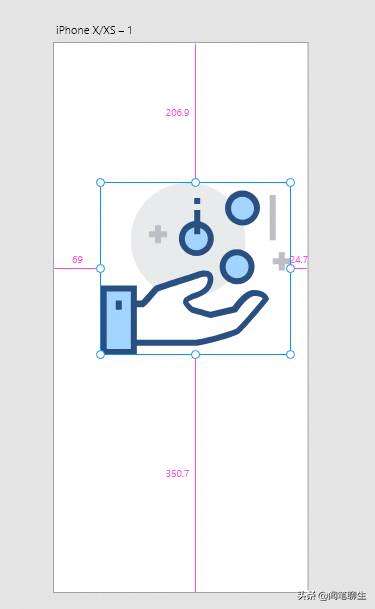
图标显示为组合在画布上的形状图层。
如果在此处修改图标而不按shift键,则只修改图标组中的图层自适应位置
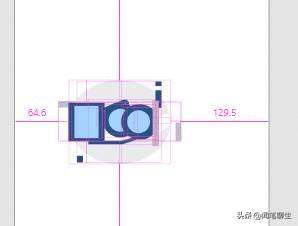
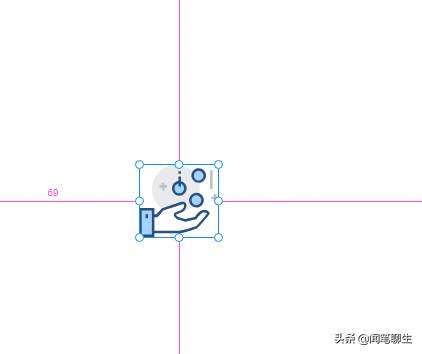
通过选择图标组并在拖动时按住shift键,可以缩放图标的大小。
s="pgc-img-caption">
而通过Axhub icons复制过来的图标,既然是一个形状图层的编组,那么我们可以选择形状图层去修改颜色和其他属性。

以上方法使用XD来实现是比PS要方便得多。
2.重复网格:
重复网格的使用有利于列表排版的准确性。
首先我们在XD中新建一个列表并且编组:
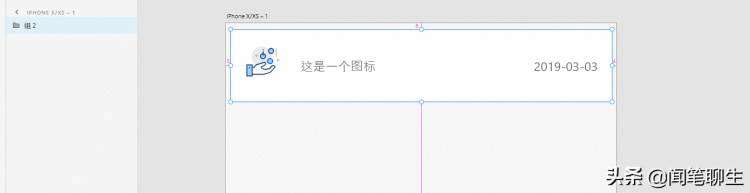
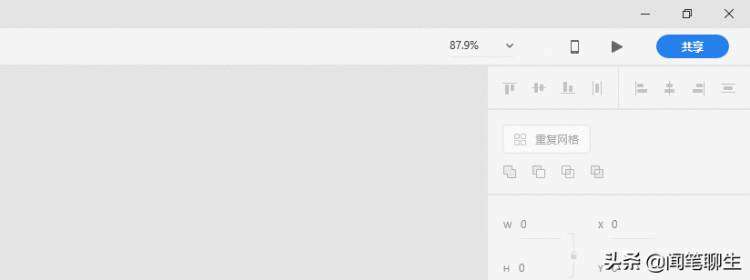
然后点击右上角的【重复网格】

当出现绿色线的时候,我们把它拖动下拉。
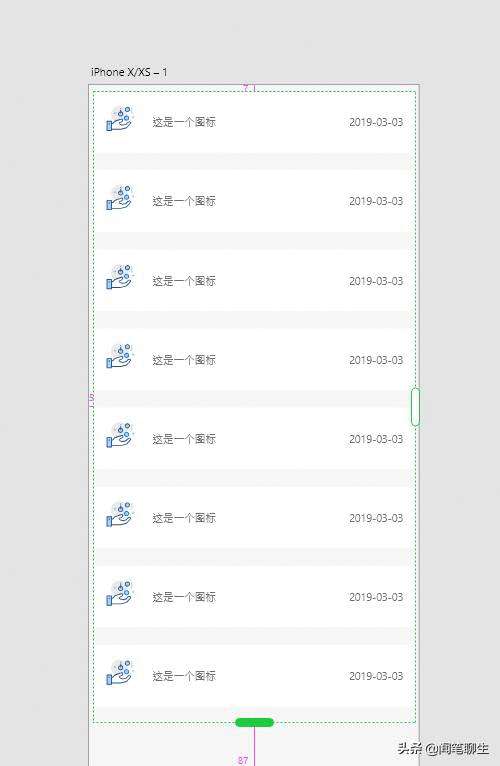
就会生成列表,这时,如果要单独修改某个项里面的文字位置,就要取消【重复网格】。取消之后会生成多个列表项,也就是编组。

3.重复网格中填充数据。
我们在PS中要填写每一列的假数据,需要一个个地去填充,是非常浪费时间的。这时,我们就要用到XD中重复网格后,利用TXT文件拖进去一下生成所有类真实数据。
https://xd.94xy.com/repeat-grid.html
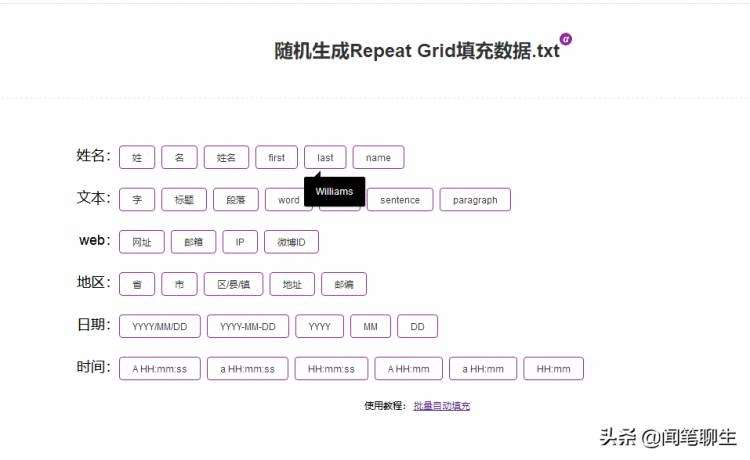
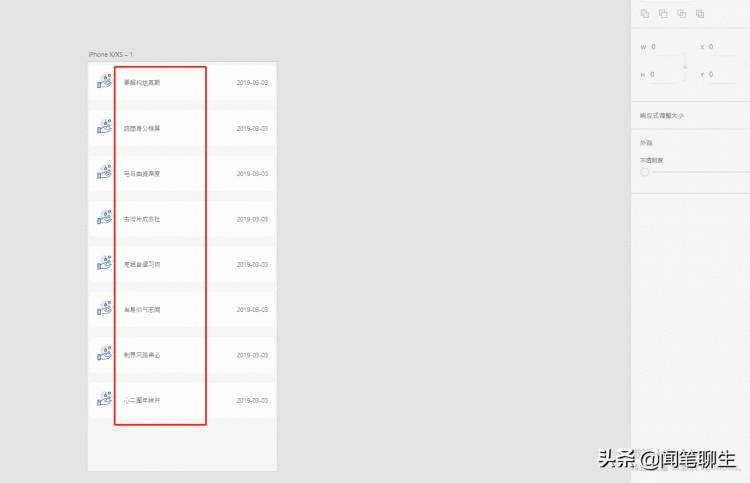
我选择的是段落,下载到桌面,拖动txt文件到设计稿里面的文字区域
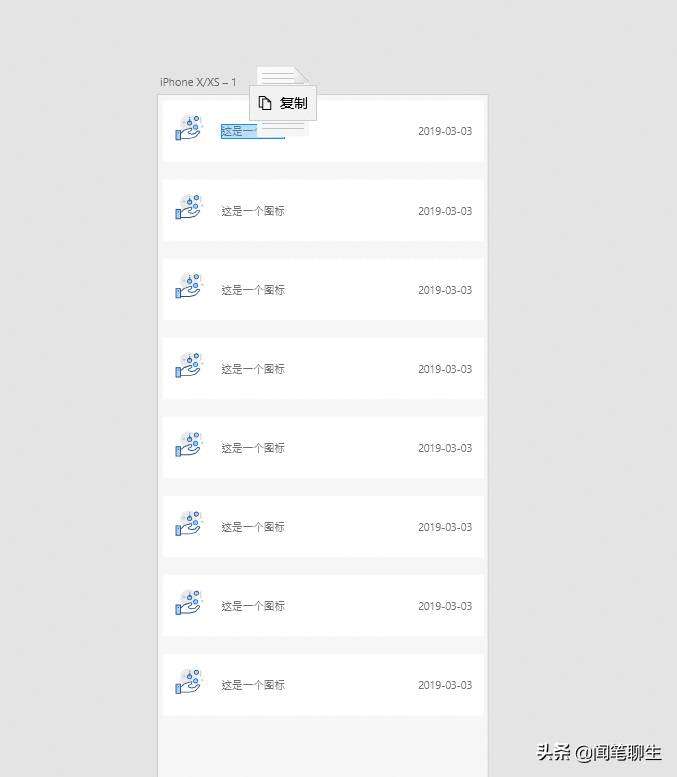
就会一下子填充需要填充的数据。
4. 共享问题
设计稿做完之后,想把交互共享出去,发现出错。
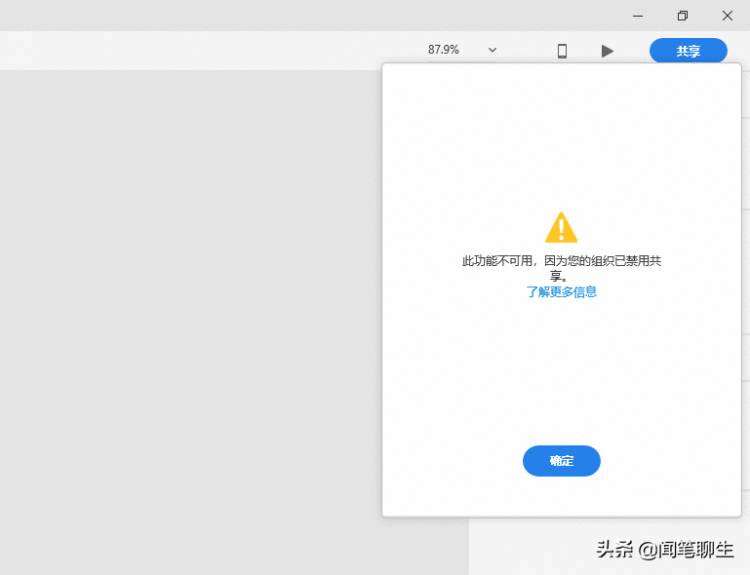
如果一定要用XD去共享,目前解决办法只能通过重新注册一个Adobe账号,地点选外国,年龄18岁以上,才能用的到共享功能。其实习惯使用蓝湖的,也可以上传到蓝湖做交互。
5. 切图
PS的cutterman本地切图我就不多说了,PS的蓝湖切图的话,就要选中图层,点击蓝湖插件中的切图按钮来标注为切图。而XD中上传蓝湖的切图就很简单了。
选中图标或图标组,点击右边的属性栏【添加导出标记】。
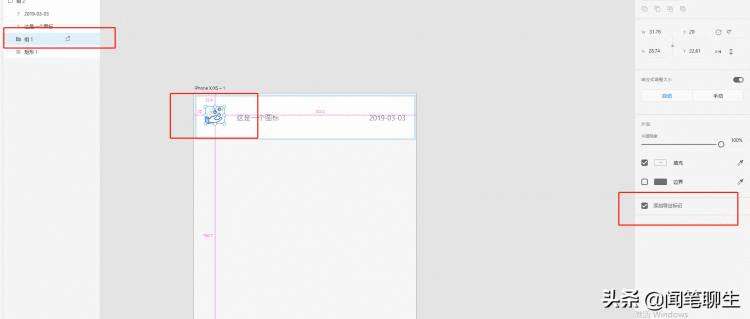
然后画布上传到蓝湖,就可以供前端下载图标了。
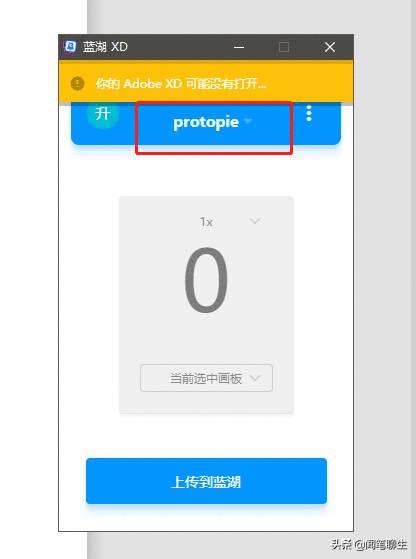
选中对应的蓝湖项目,利用蓝湖XD桌面软件,选中画布,点击上传,就可以了。

今天XD教程分享到这里,明天继续,如有问题需要咨询,请留言或私信。
快三单双大小三期必中mg-caption">
3.重复网格中填充数据。
我们在PS中要填写每一列的假数据,需要一个个地去填充,是非常浪费时间的。这时,我们就要用到XD中重复网格后,利用TXT文件拖进去一下生成所有类真实数据。
https://xd.94xy.com/repeat-grid.html
我选择的是段落,下载到桌面,拖动txt文件到设计稿里面的文字区域
就会一下子填充需要填充的数据。
4. 共享问题
设计稿做完之后,想把交互共享出去,发现出错。
如果一定要用XD去共享,目前解决办法只能通过重新注册一个Adobe账号,地点选外国,年龄18岁以上,才能用的到共享功能。其实习惯使用蓝湖的,也可以上传到蓝湖做交互。
5. 切图
PS的cutterman本地切图我就不多说了,PS的蓝湖切图的话,就要选中图层,点击蓝湖插件中的切图按钮来标注为切图。而XD中上传蓝湖的切图就很简单了。
选中图标或图标组,点击右边的属性栏【添加导出标记】。
然后画布上传到蓝湖,就可以供前端下载图标了。
选中对应的蓝湖项目,利用蓝湖XD桌面软件,选中画布,点击上传,就可以了。
今天XD教程分享到这里,明天继续,如有问题需要咨询,请留言或私信。


 京公网安备 11010802041100号