作者:超级活死人 | 来源:互联网 | 2017-05-12 01:50
ps功能十分强大,但是新手却找不到画圆的工具,那么下面小编就为大家介绍photoshop绘制空心圆和实心圆方法方法,教程比较基础,一起来看看吧!

方法/步骤
打开photoshop7,新建一个文件
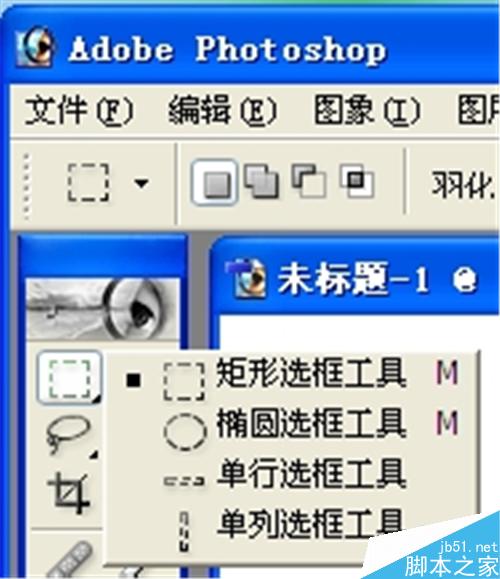
把光标移到“工具条”上的“矩形选取工具”,按住左键不动,选取“椭圆选框工具”
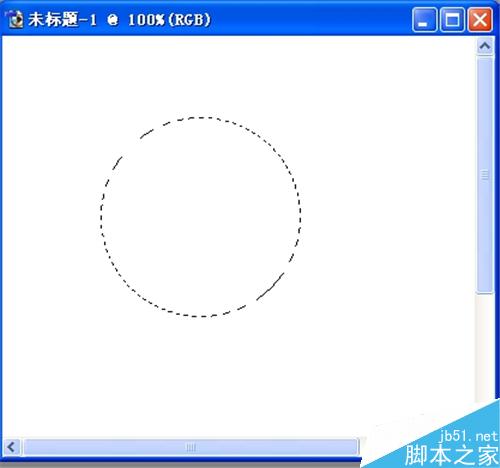
按住“shift”和鼠标左键,拖动鼠标,画出一个圆
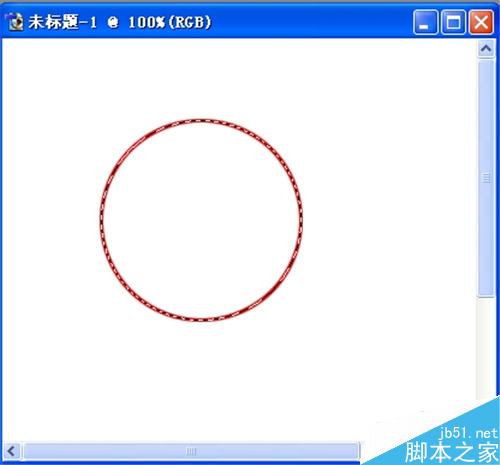
点击“编辑”--“描边”,弹出“描边”对话框,设置“宽度”为“3像素”
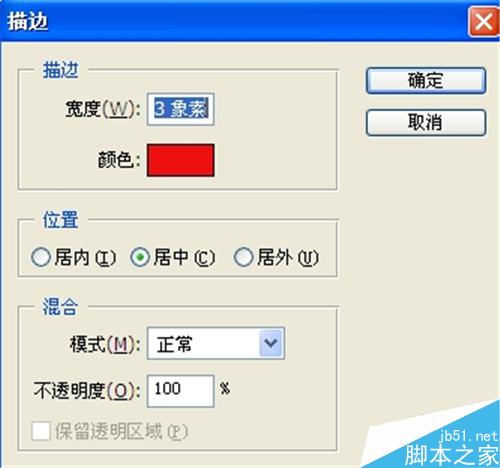
点击“确定”就画出一个空心圆
如果要画实心圆,就点击“编辑”--“填充”
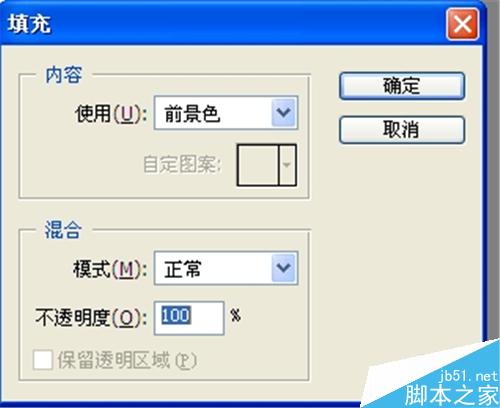
“确定”后就得到一个实心圆

以上就是photoshop绘制空心圆和实心圆方法介绍,希望能对大家有所帮助!


 京公网安备 11010802041100号