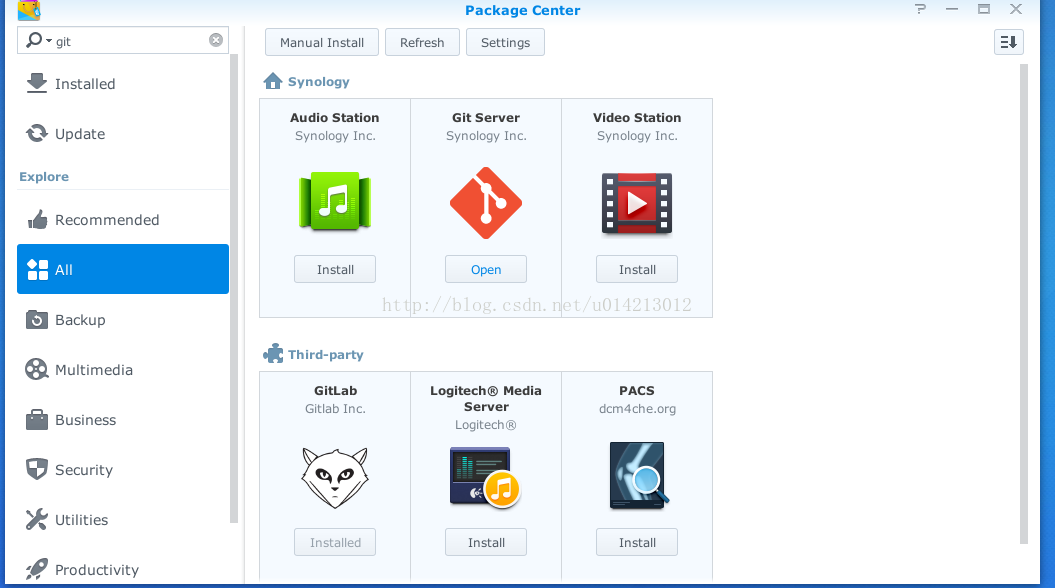
1、首先安装Git Server,进入“套件中心”找到点击安装即可。
2、然后打开 DSM 的SSH: 控制面板 → 终端机… → 启动SSH功能。

3、创建“共享文件夹”Git 作为我的Git仓库。
控制面板 → 共享文件夹:我就挂了一个盘,目录一般就是 /volume1/Git .然后一直点“OK”就可以,选择默认

4、创建和配置Git Server用户(根据需要,默认admin管理员当然可以)。
1)控制面板 → 用户账号:我这里创建了一个git用户,并设置了对Git目录的读写权限。

2)主菜单 → Git Server: 勾选用户。

5、ssh 登录到 nas,使用 root 用户
ssh root@你的nas地址

6、选择一个文件夹作为你的 git 代码存储地址,因为我设置/volume1/Git共享文件夹作为我的git仓库,所以我们就建立在这个目录下面
/volume1 指的是 nas 中第一块硬盘,test 文件夹本身不存在,需要自行创建
cd /volume1/Git
mkdir test

7、初始化一个空的 git 项目,此时有两种方法可以选择
若你已经在本地初始化好了项目
需要 push 到 nas 上的 git 服务器,使用如下命令:,—bare 指定创建的仓库为公共仓库,—shared 将使其他人都有权限将他们的代码提交至这个仓库中。
git init
然后在本地使用如下命令加本地代码 push 到 git 服务器
git remote add nas ssh:
git push nas master
若你在本地还没有项目
可以使用如下命令:
git init --bare
然后在本地使用
git clone ssh:
完成项目的初始化


 京公网安备 11010802041100号