作者:晓晓鱼美人 | 来源:互联网 | 2023-09-01 15:00
豆宝社区项目实战教程简介本项目实战教程配有免费视频教程,配套代码完全开源。手把手从零开始搭建一个目前应用最广泛的Springboot+Vue前后端分离多用户社区项目
豆宝社区项目实战教程简介
本项目实战教程配有免费视频教程,配套代码完全开源。手把手从零开始搭建一个目前应用最广泛的 Springboot+Vue 前后端分离多用户社区项目。本项目难度适中,为便于大家学习,每一集视频教程对应在 Github 上的每一次提交。
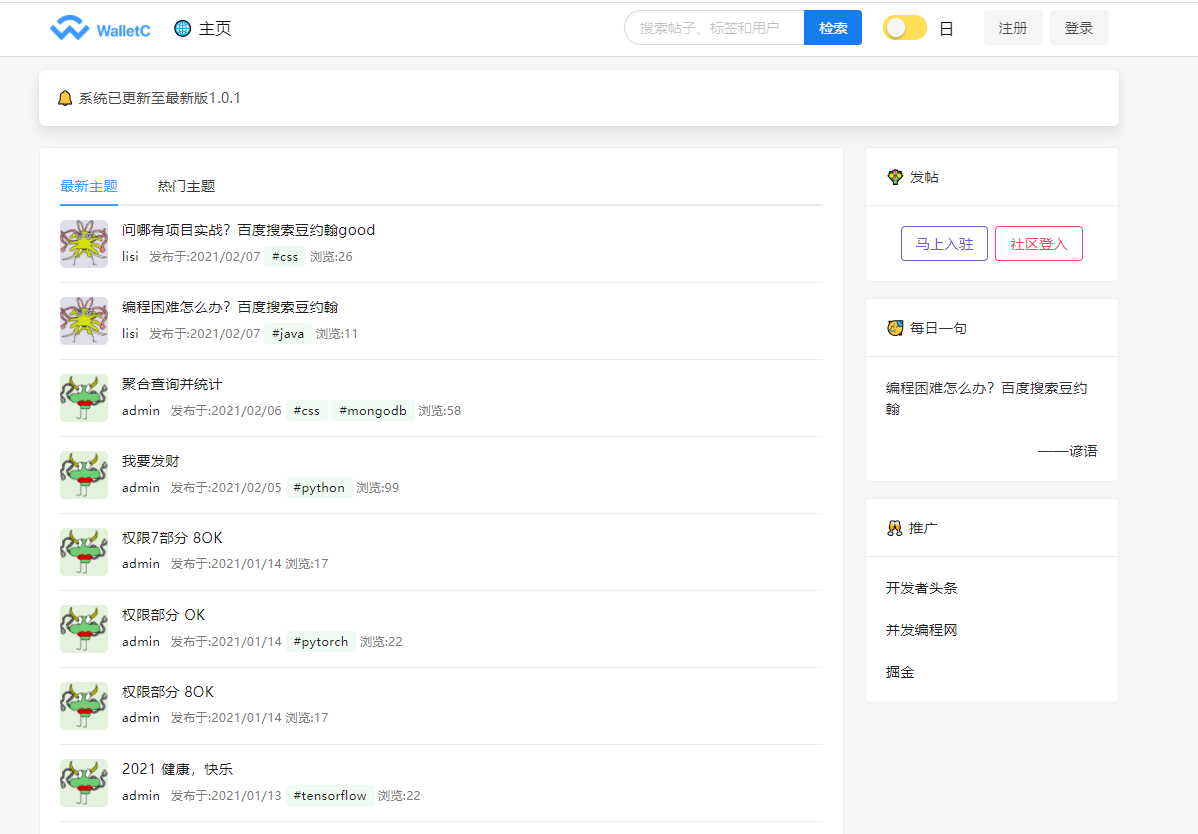
项目首页截图
代码开源地址
前端
后端
视频教程地址
视频教程
前端技术栈
Vue
Vuex
Vue Router
Axios
Bulma
Buefy
Element
Vditor
DarkReader
后端技术栈
Spring Boot
Mysql
Mybatis
MyBatis-Plus
Spring Security
JWT
Lombok
搭建前端工程
1.创建 vue 工程
1.创建项目
1
| vue create notepad_blog_frontend |
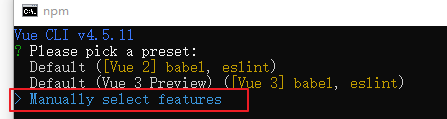
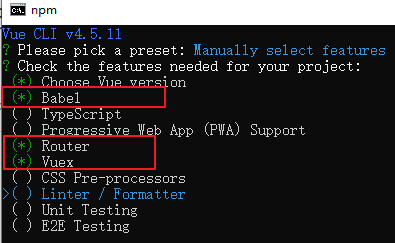
2.选择
上下键移动,空格选择 /取消
大概意思就是说是否使用历史路由,这里为 n ,不使用

将配置文件放到各自的文件里 还是 package.json(选择放到各自的文件里)
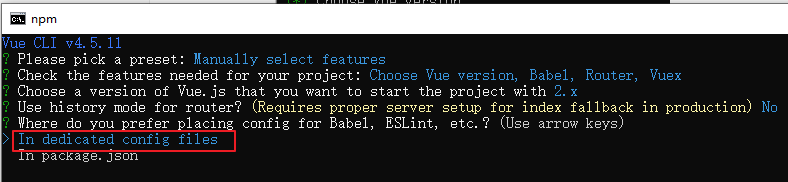
**选择 n **

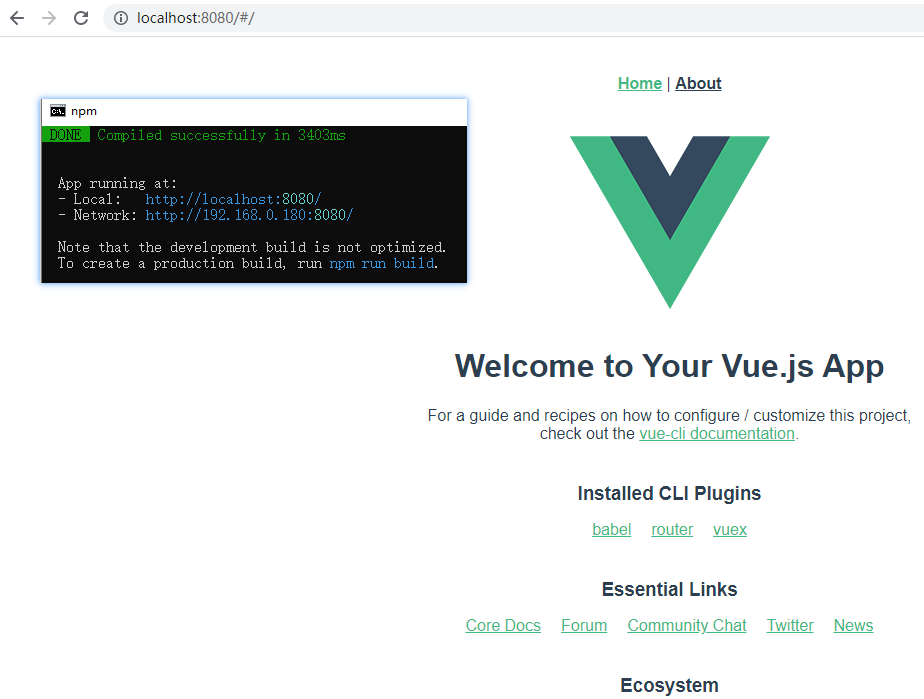
进入到项目中 输入 npm run serve
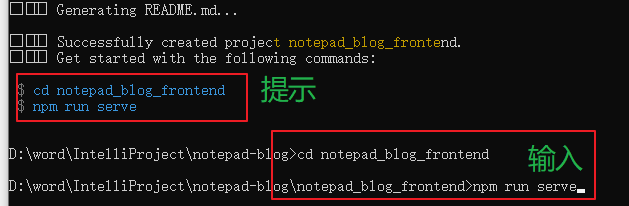
项目创建成功
.
2.添加框架 /依赖
2.1 下载
1
2
3
| yarn add buefy -- https://bulma.io/
yarn add element-ui
yarn add axios |
buefy 的官网 https://bulma.io/
element-ui 的官网 https://element.eleme.cn/#/zh-CN
在根目录下 package.json 可以看到添加后的版本号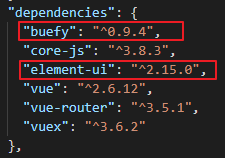
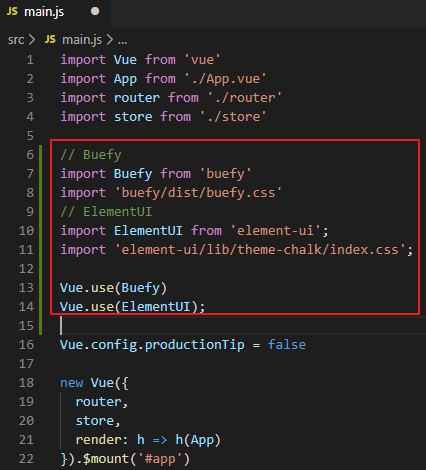
2.2 引入
在 /src/main.js 中引入
1
2
3
4
5
6
7
8
9
| // Buefy
import Buefy from 'buefy'
import 'buefy/dist/buefy.css'
// ElementUI
import ElementUI from 'element-ui';
import 'element-ui/lib/theme-chalk/index.css';
Vue.use(Buefy)
Vue.use(ElementUI); |
3.实现通知效果
3.1 修改 App.vue
将样式删除,将 class="container" 是 Buefy 中的一个类,页面会居中对齐,左右会有一定的间隔
3.2 修改 router/index.js
1
2
3
4
5
6
7
8
9
10
11
12
13
14
15
16
17
18
19
| import Vue from 'vue'
import VueRouter from 'vue-router'
import Home from '../views/Home.vue'
Vue.use(VueRouter)
const routes = [
{
path: '/',
name: 'Home',
component: () => import('@/views/Home')
}
]
const router = new VueRouter({
routes
})
export default router |
3.3 删除页面
删除 /views/about 页面
删除 components/HelloWorld.vue 组件
3.4 修改 Home 页面
1
2
3
4
5
6
7
8
9
10
11
12
13
14
15
16
17
18
19
20
21
22
| |
3.5 启动项目查看效果

感觉你这项目就只是为了前后分离而分离


 京公网安备 11010802041100号