作者:mobiledu2502905163 | 来源:互联网 | 2023-09-23 19:44
人生苦短,我用Python
Python介绍
Python(英国发音:/ˈpaɪθən/ 美国发音:/ˈpaɪθɑːn/), 是一种面向对象的解释型计算机程序设计语言,由荷兰人Guido van Rossum于1989年发明,第一个公开发行版发行于1991年。
Python是纯粹的自由软件, 源代码和解释器CPython遵循 GPL(GNU General Public License)协议[2] 。Python语法简洁清晰,特色之一是强制用空白符(white space)作为语句缩进。
Python具有丰富和强大的库。它常被昵称为胶水语言,能够把用其他语言制作的各种模块(尤其是C/C++)很轻松地联结在一起。
Python3.x和Python2.x的区别
Python2目前只是做bug的修复、新硬件和操作系统兼容的相关维护工作,不会再有新的功能加入。Python2只支持到2020年。
Python3与Python2的思想基本是相同的,但是不向下兼容,所以建议学Python3。
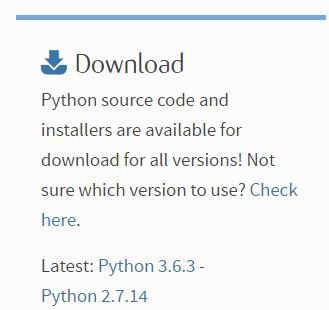
Python3安装
官方下载地址:https://www.python.org
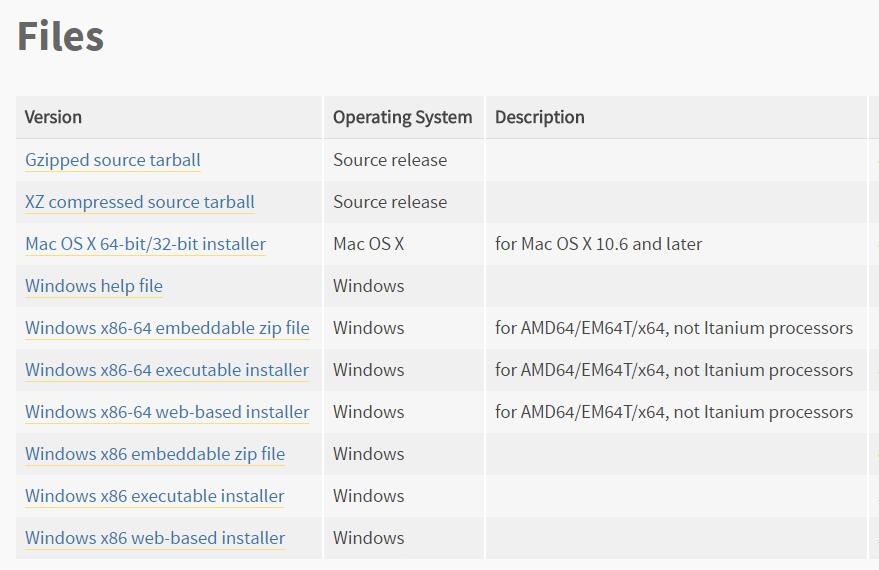
选择与自己平台相匹配的安装包,这里我是win10、64位系统,用的是Windows x86-64 executable installer。
接下来就是一连串的安装步骤,在此省略。
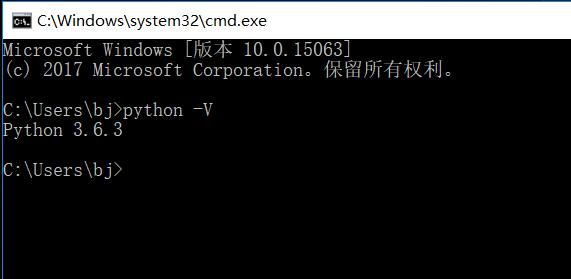
如何验证Python3是否安装成功呢?
运行-cmd-输入python -V,可以顺带查看所安装python的版本。

numpy安装
官方下载地址:https://pypi.python.org/pypi/numpy
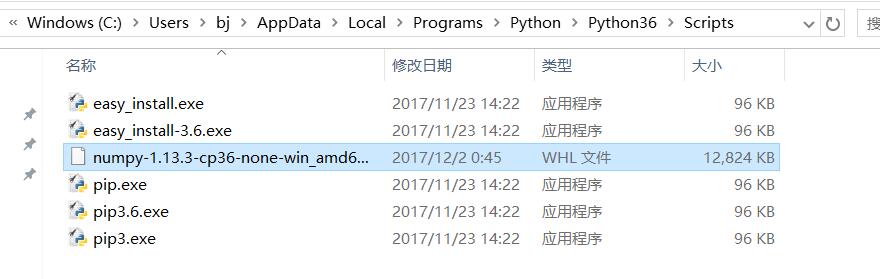
选择与自己平台、Python版本相匹配的numpy安装文件。本人是python3.6,64位操作系统,所以下载的是numpy-1.13.3-cp36-none-win_amd64.whl (md5, pgp)

下载好后将文件放到python安装目录下的scripts文件夹中。如果python安装正确的话,文件夹中应该还有pip和easy_install。
将上述文件夹路径加入到系统变量中。
方法如下:复制Scripts路径,右击计算机-属性-高级系统设置-环境变量-系统变量-path-编辑,将刚才的路径粘贴进去。
在dos命令下输入pip3.4 install +numpy路径+文件名。
比如:
pip3.6 install
C:\Users\bj\AppData\Local\Programs\Python\Python36\Scripts\
numpy-1.13.3-cp36-none-win_amd64.whl

安装成功,提示successfully installed numpy-1.13.3。
在python中使用numpy,不提示异常说明安装配置完成。

PyCharm
PyCharm官方下载地址:
http://www.jetbrains.com/pycharm/

根据平台选择相应的PyCharm版本,这里我选择的是WINDOWS。社区版开源且免费,就决定是你了。
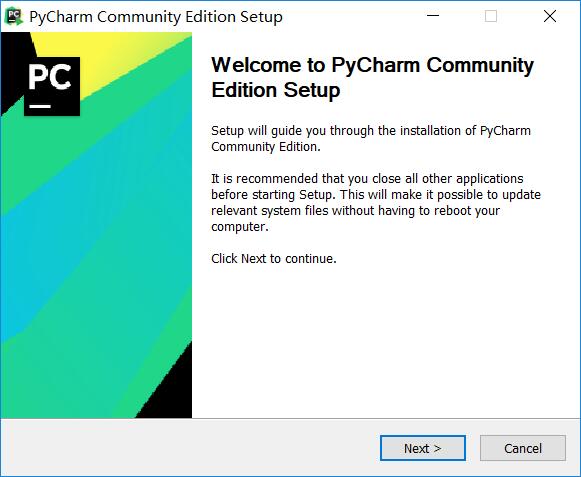
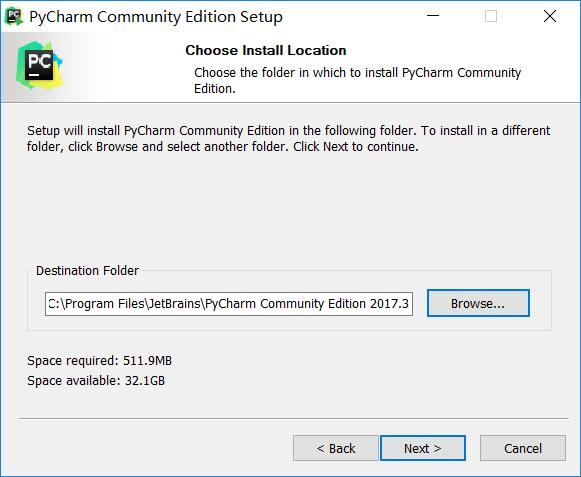
直接继续下一步
勾选相应项
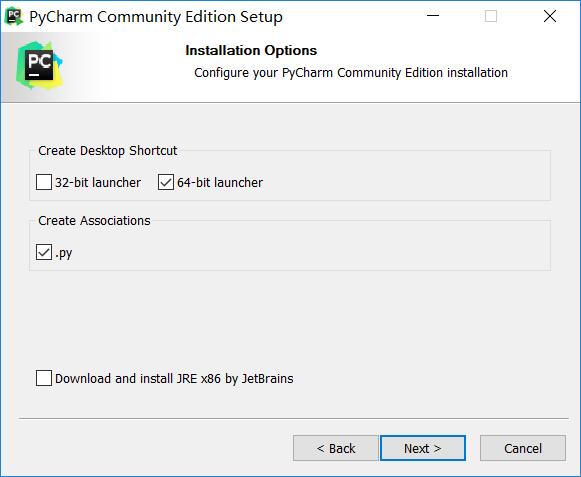
继续下一步

安装很快的。

完成后弹出提示,是否有之前版本,没有选第二项。

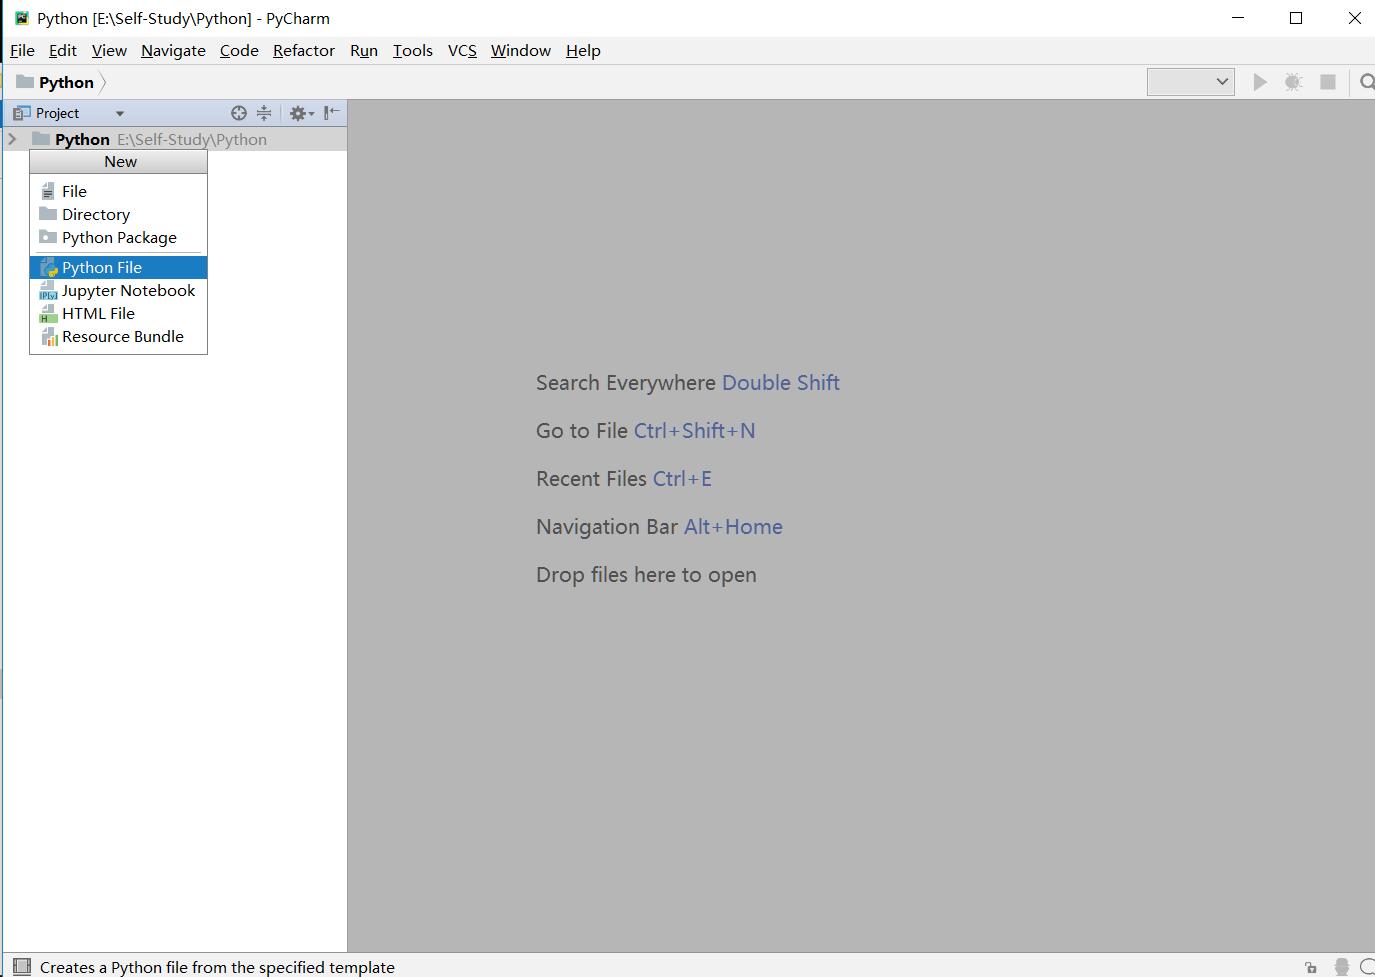
后面是PyCharm的介绍,跳过或者浏览都行,接着就到了PyCharm界面。

好了,接下来就可以好好写Python代码了!
Anaconda
Pycharm在导入类似numpy、sklearn等模块的时候,容易出现各种问题,如Python版本与模块之间的兼容等。Anaconda能很好地解决这个问题。
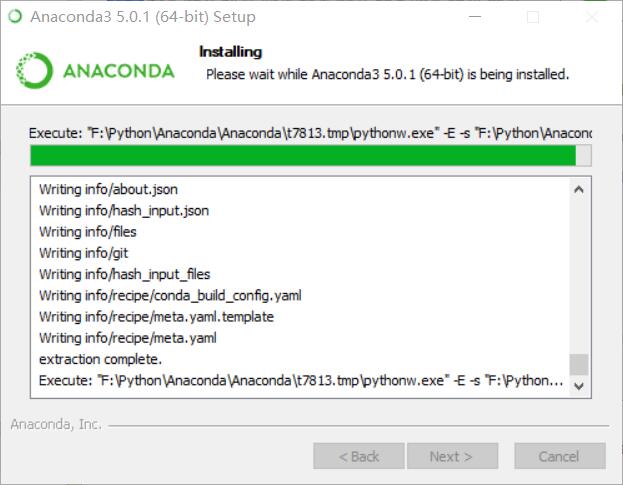
下载Anaconda软件(官网链接):https://www.anaconda.com/download/
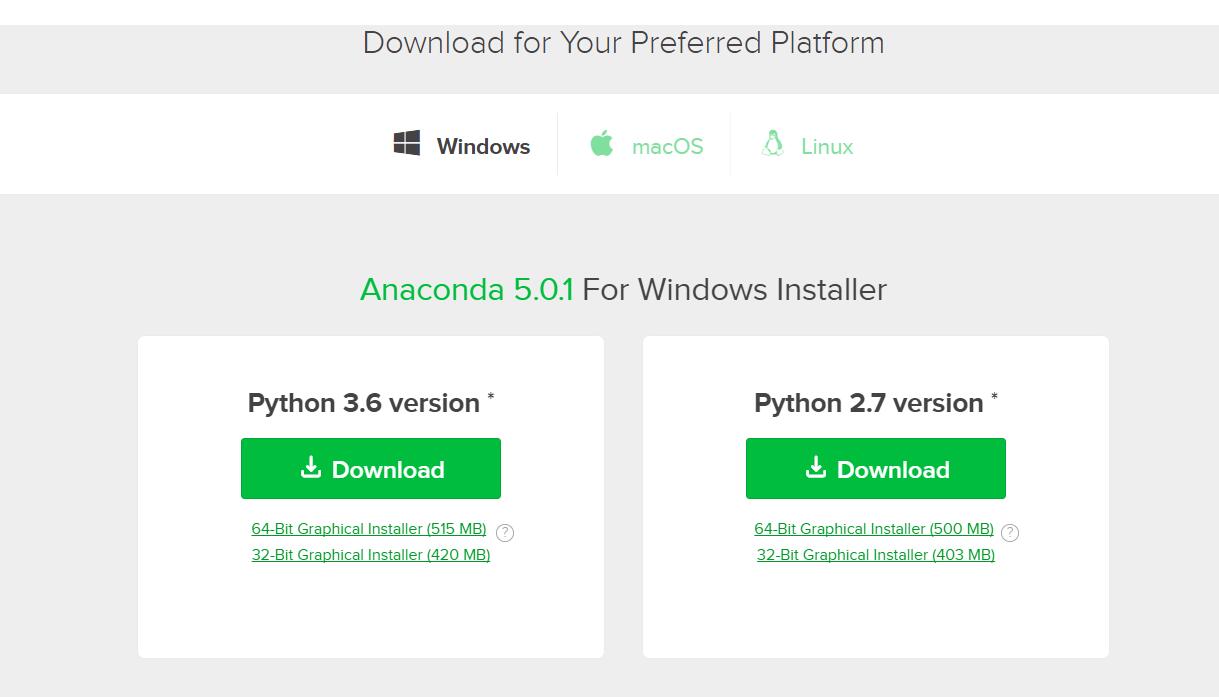
选择运行平台与Python对应版本。查看Python版本的方法是:运行–> cmd –> 输入“python -V”。
下载安装后,就是简单的Next操作了。
接下来在Pycharm中导入Anaconda内部的集成模块库。

按下”设置”按钮,选择”Add Local Python Interpreter”。

选择Anaconda安装目录下的python.exe程序 。

等待Pycharm自动更新模块库,完成。


 京公网安备 11010802041100号