作者:好人___夏洁 | 来源:互联网 | 2024-11-15 17:24
想要快速地为您的电脑重装Windows 10系统吗?本文将为您提供详细的步骤指导,帮助您顺利完成整个过程。
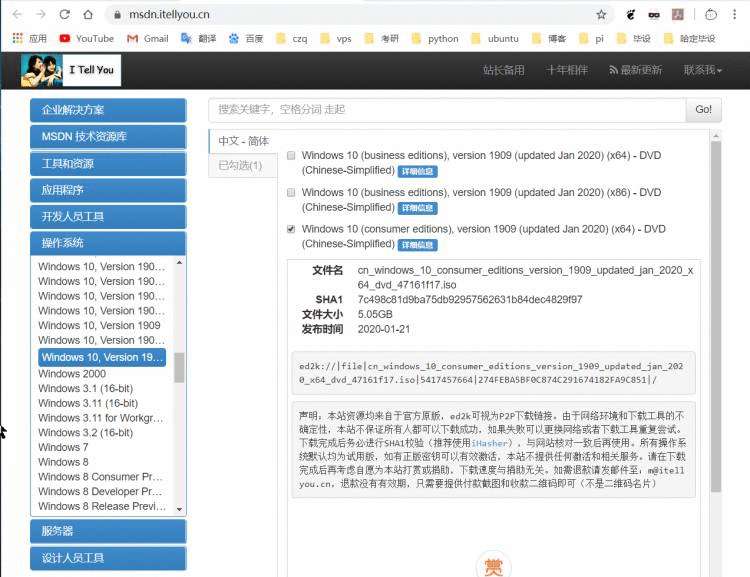
1、下载Windows 10镜像
您可以从I Tell You网站下载纯净版的Windows 10镜像,网址为:https://msdn.itellyou.cn/。X64表示64位系统,X86表示32位系统。通常情况下,个人电脑建议选择消费者版本(Consumer Editions)。请根据您的电脑配置下载相应的版本,并确保不要将镜像文件下载到需要安装系统的分区(例如C盘)。
2、制作U盘启动工具
下载大白菜U盘启动盘制作工具,下载地址:http://www.dabaicai.pw/。推荐下载UEFI版本。安装并启动大白菜,插入U盘。
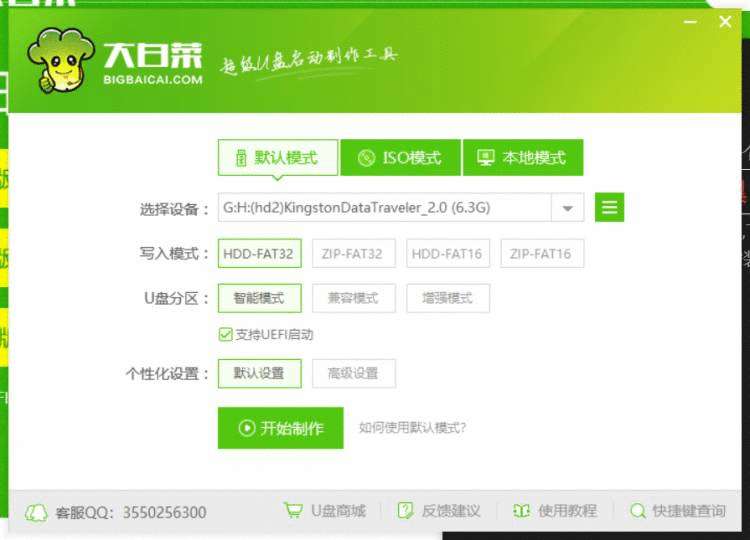
选择您的U盘,其他选项保持默认,点击“开始制作”。请注意,这将删除U盘中的所有文件,请提前备份重要数据。制作完成后,可以尝试模拟启动。


U盘启动盘制作完成。
3、进入BIOS设置
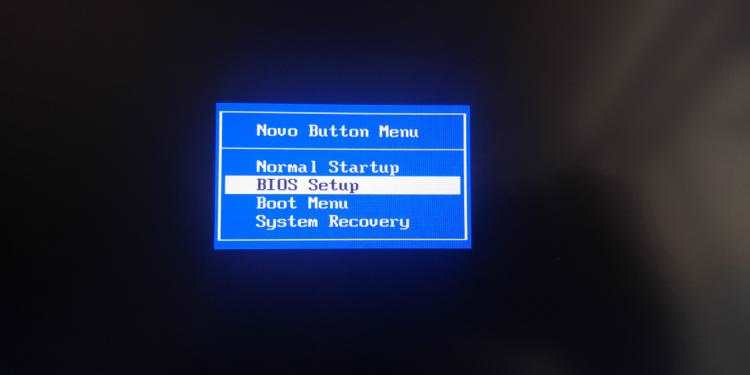
重启电脑并进入BIOS设置。不同品牌的电脑进入BIOS的方法可能不同,您可以搜索具体方法。以联想笔记本为例,可以按住电源按钮旁边的小孔,或者在开机时按F2或Del键进入BIOS。
进入BIOS后,选择“BIOS Setup”,进入后选择“Boot”选项卡,将Boot Mode设置为UEFI模式,然后选择“Exit”并保存设置。
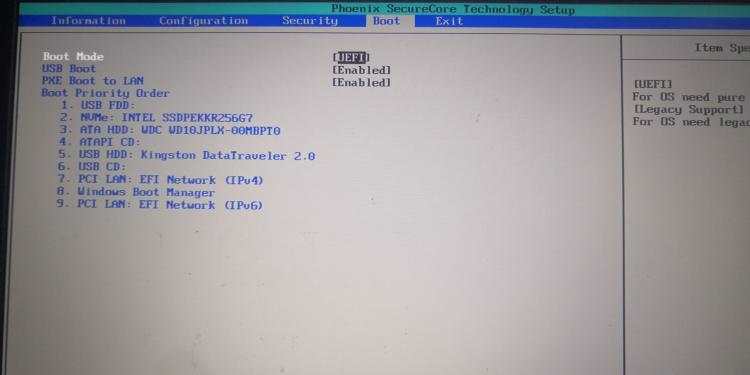
再次进入BIOS,选择“Boot Menu”,选择从U盘启动(通常是USB HDD)。确定后,大白菜U盘启动。
4、使用大白菜U盘启动
成功进入大白菜U盘启动界面。
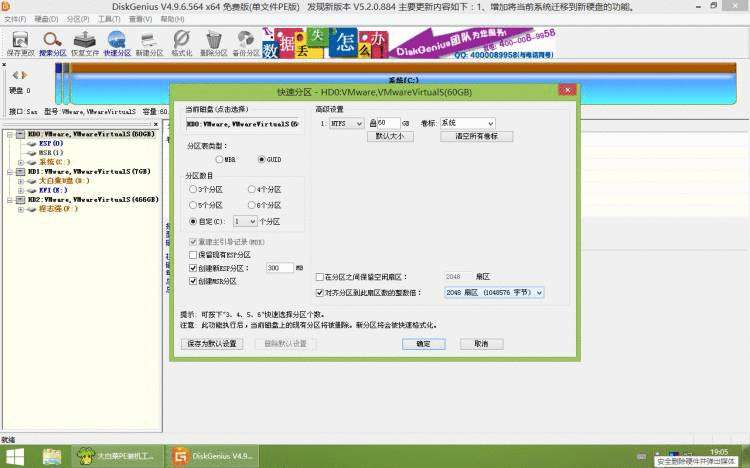
如果硬盘尚未安装过系统,建议先使用DiskGenius工具重新分区。选择“快速分区”,分区类型选择GUID,并创建ESP和MSR分区。点击“确定”开始分区。
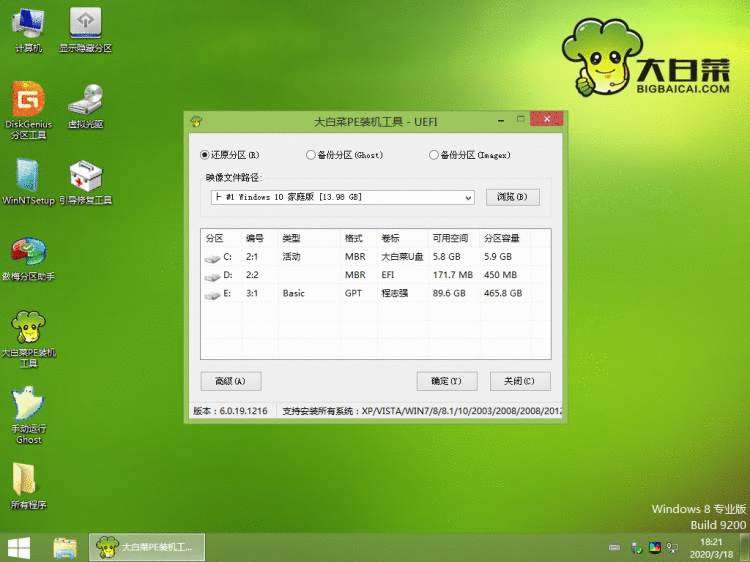
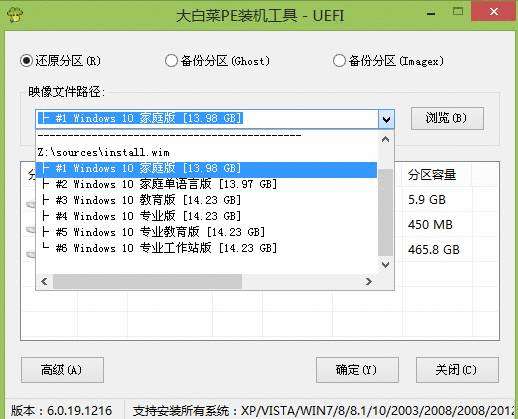
点击“浏览”,选择之前下载的Windows 10镜像文件。选择适合您需求的版本,例如家庭版适合日常使用,专业版适合开发工作。
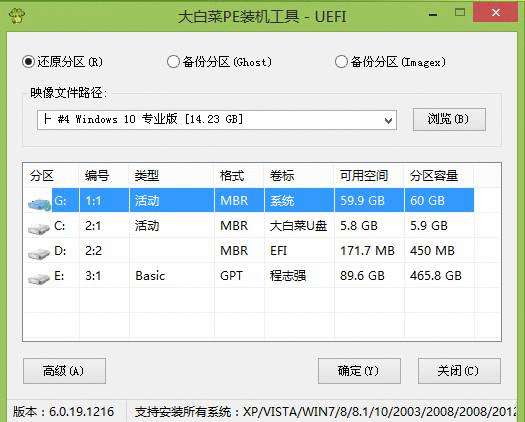
选择系统安装位置,确保选择正确。点击“全自动安装”,等待安装完成。
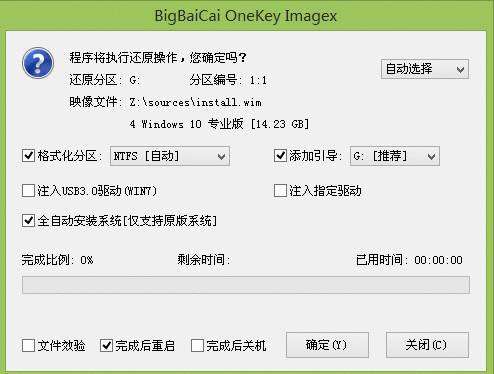
安装完成后,系统会提示您重启电脑。重启时请拔掉U盘。
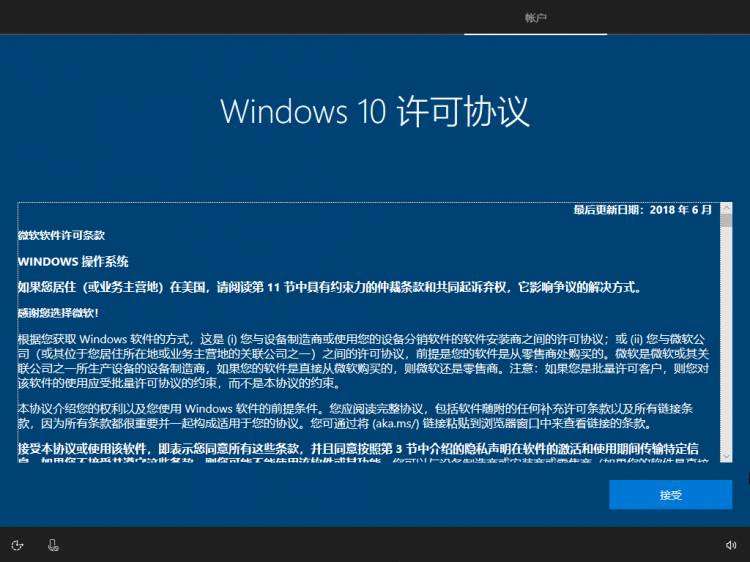
5、Windows 10安装设置
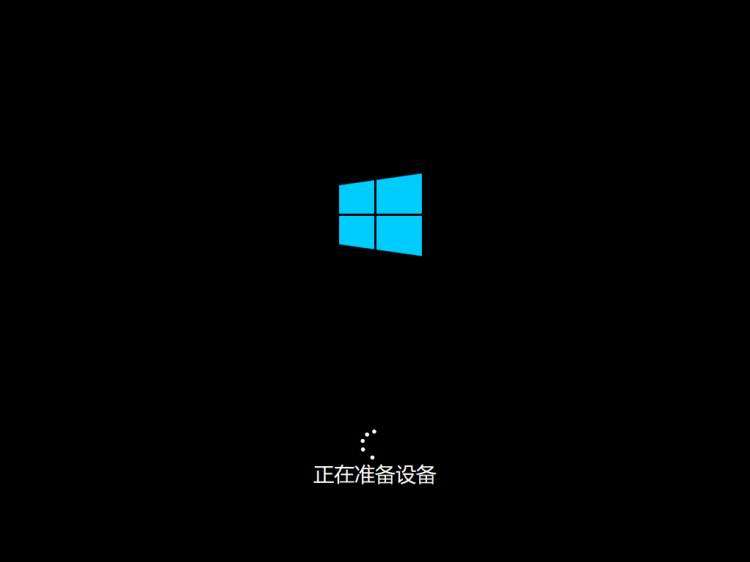

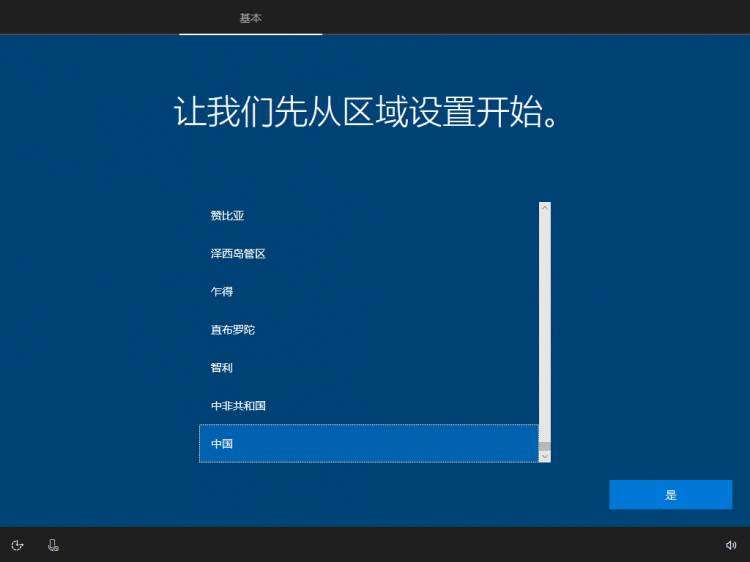
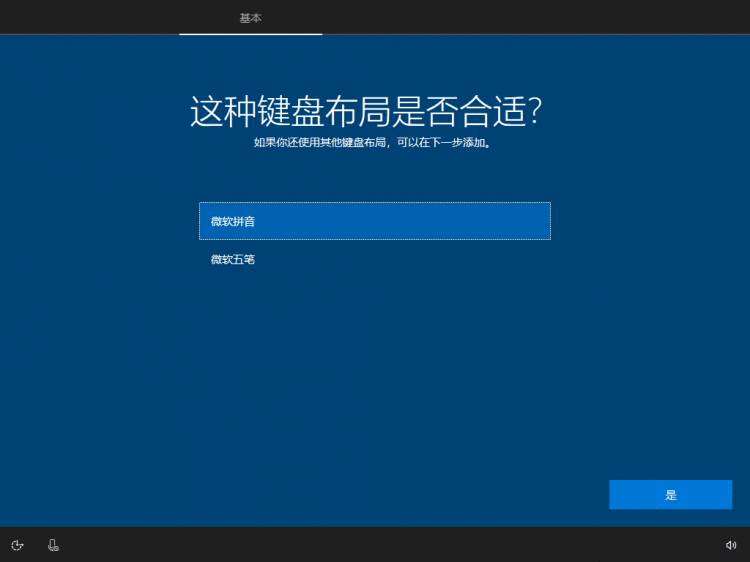
Windows 10开始系统准备,可能会需要一些时间。期间系统会自动重启几次。按照提示依次完成设置。

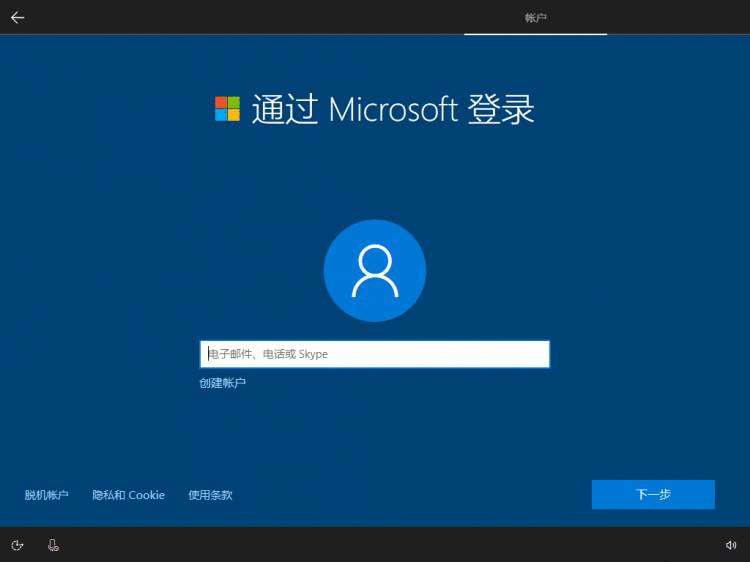
如果您有Microsoft账户,可以直接登录;如果没有,可以选择“脱机账户”。
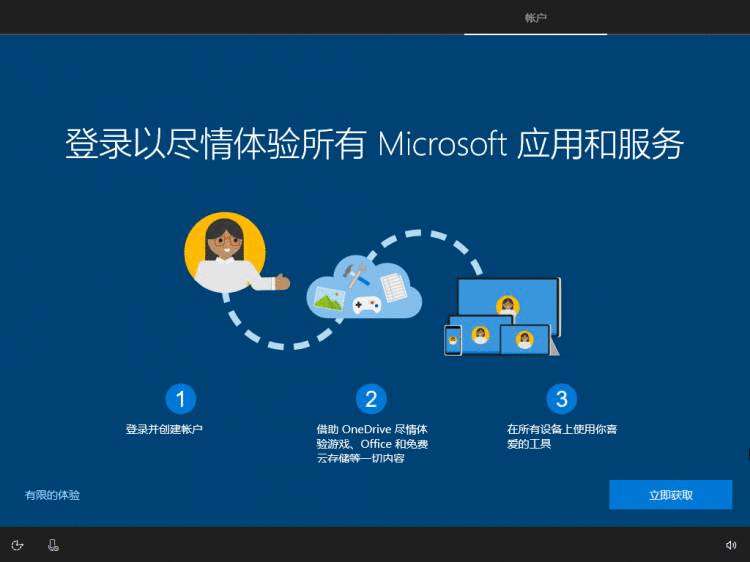
如果不需要Microsoft的服务,可以选择“有限体验”。
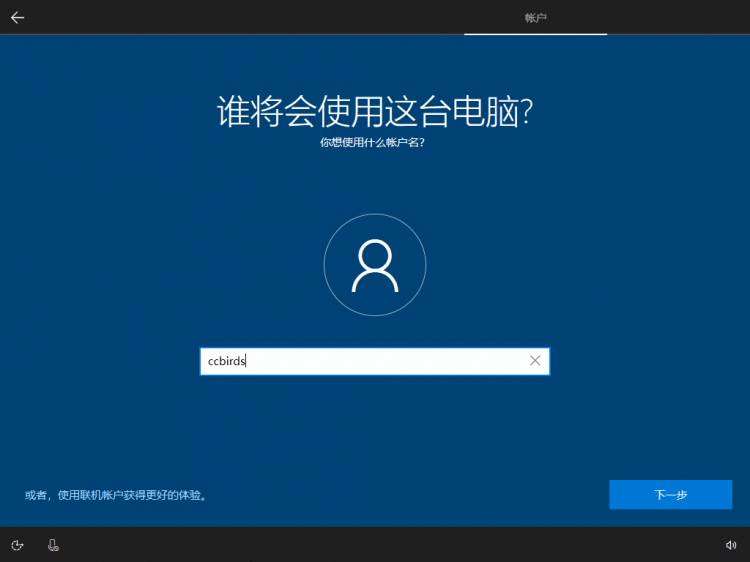
输入用户名。
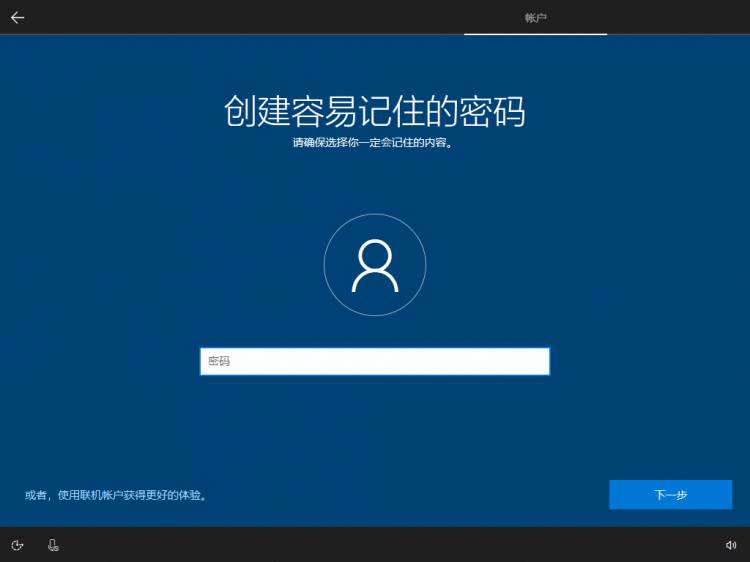
输入登录密码,确认两次。
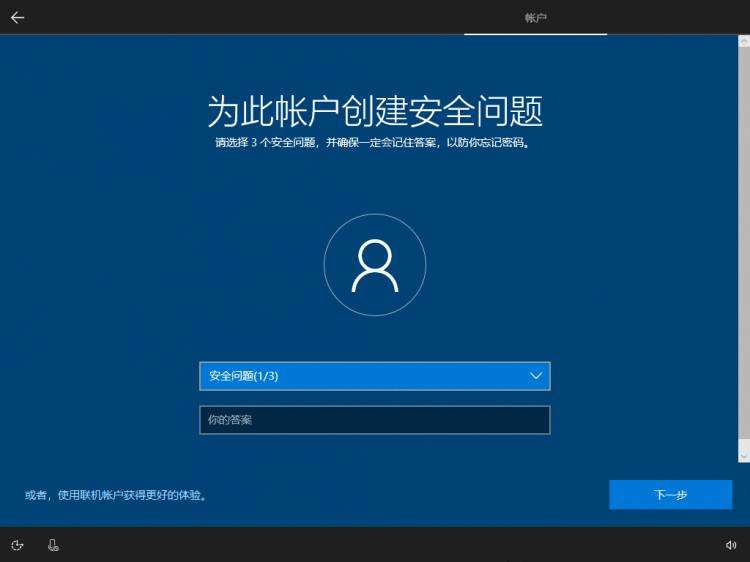
设置三个安全问题。
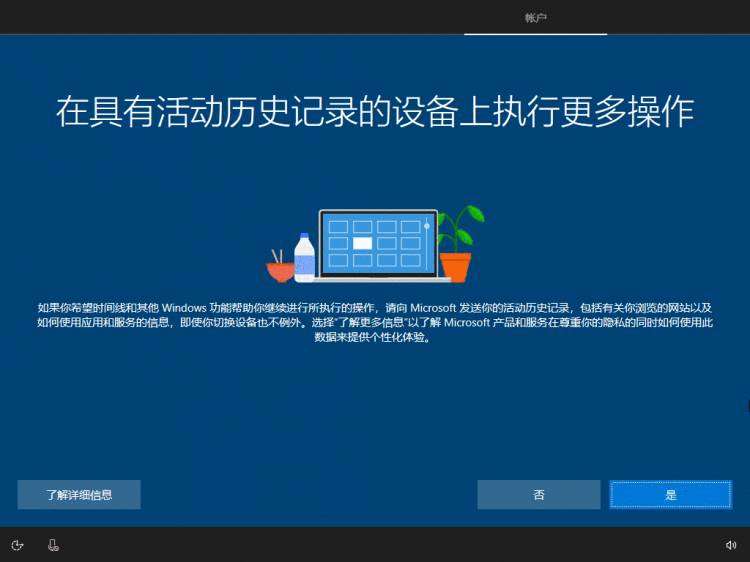
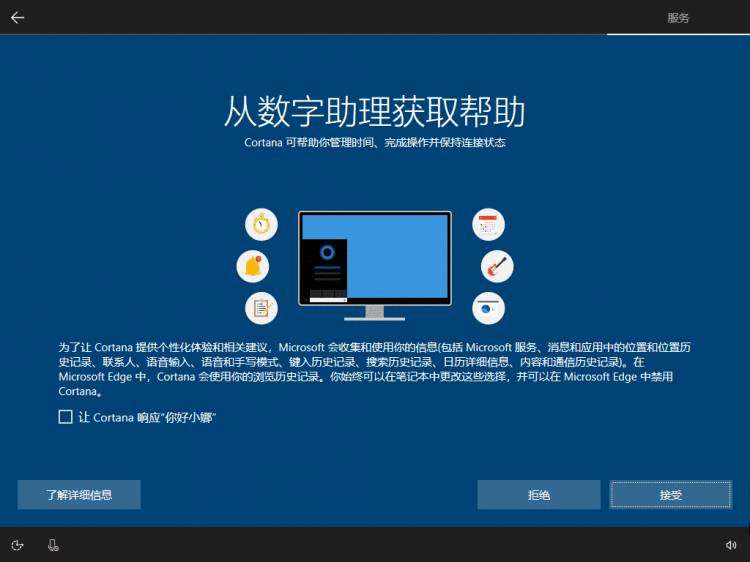
根据需要选择设置项。
到这里,系统安装就完成了。


![扫描线三巨头 hdu1928hdu 1255 hdu 1542 [POJ 1151]](https://img.php1.cn/3c972/245b5/42f/19446f78530d3747.jpeg)


 京公网安备 11010802041100号