作者:mobiledu2502923083 | 来源:互联网 | 2023-09-14 19:55
Vue使用路由 通过改变 URL,在不重新请求页面的情况下,更新页面视图。
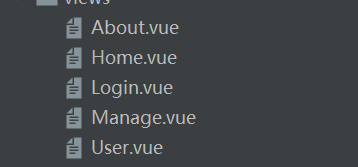
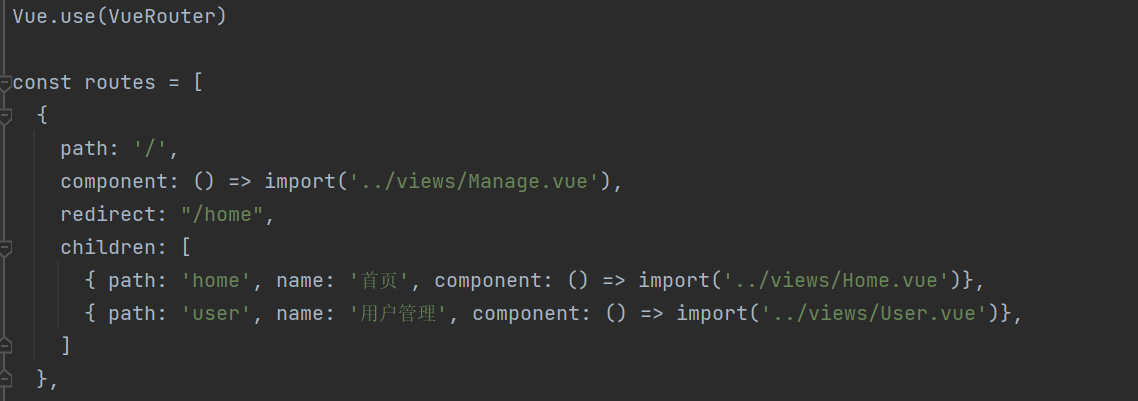
1、把home分成不同的部分,登录、用户、管理等界面。在router-index.js中修改并在侧边栏导入。这里一定要加上Vue.use(VueRouter)
< template> < el- menu : default - openeds&#61; "[&#39;1&#39;, &#39;3&#39;]" style&#61; "min-height: 100%; overflow-x: hidden" background- color&#61; "rgb(48, 65, 86)" text- color&#61; "#fff" active- text- color&#61; "#ffd04b" : collapse- transition&#61; "false" : collapse&#61; "isCollapse" router> < div style&#61; "height: 60px; line-height: 60px; text-align: center" > < img src&#61; "../assets/logo.png" alt&#61; "" style&#61; "width: 20px; position: relative; top: 5px; right: 5px" > < b style&#61; "color: white" v- show&#61; "logoTextShow" > 后台管理系统< / b> < / div> < el- menu- item index&#61; "/home" > < template slot&#61; "title" > < i class &#61; "el-icon-house" > < / i> < span slot&#61; "title" > 主页< / span> < / template> < / el- menu- item> < el- submenu index&#61; "2" > < template slot&#61; "title" > < i class &#61; "el-icon-menu" > < / i> < span slot&#61; "title" > 系统管理< / span> < / template> < el- menu- item index&#61; "/user" > < i class &#61; "el-icon-s-custom" > < / i> < span slot&#61; "title" > 用户管理< / span> < / el- menu- item> < / el- submenu> < / el- menu> < / template> < script> default { name: "Aside" , props: { isCollapse: Boolean , logoTextShow: Boolean } } < / script> < style scoped> < / style>
3、在router-index.js中添加路由守卫代码&#xff0c;其中的next必须写&#xff0c;否则路由不出来。
router. beforeEach ( ( to , from, next) &#61; > { localStorage. setItem ( "currentPathName" , to . name) store. commit ( "setPath" ) next ( ) } )
4、在header中用这种方式进行引用&#xff1a;
computed: { currentPathName ( ) { return this . $store. state. currentPathName; } } , watch: { currentPathName ( newVal, oldVal) { console. log ( newVal) } } ,
使用&#xff1a;
< el- breadcrumb separator&#61; "/" style&#61; "display: inline-block; margin-left: 10px" > < el- breadcrumb- item : to &#61; "&#39;/&#39;" > 首页< / el- breadcrumb- item> < el- breadcrumb- item> { { currentPathName } } < / el- breadcrumb- item> < / el- breadcrumb>
5、安装vuex&#xff1a;npm i vuex -S
import Vue from &#39;vue&#39; import Vuex from &#39;vuex&#39; Vue . use ( Vuex ) const store &#61; new Vuex. Store ( { state: { currentPathName: &#39;&#39; } , mutations: { setPath ( state) { state. currentPathName &#61; localStorage. getItem ( "currentPathName" ) } } } ) export default store
7、在main.js中引入vuex
import store from &#39;./store&#39; new Vue ( { router, store, render: h &#61; > h ( App ) } ) . $mount ( &#39;#app&#39; )
 Aside的代码&#xff1a;


 京公网安备 11010802041100号