Flutter中的操作提示主要有这么几种 SnackBar、BottomSheet、Dialog,因为 Dialog样式比较多,放最后讲好了
SnackBar的源码相对简单
const SnackBar({
    Key key,
    @required this.content, // 提示信息
    this.backgroundColor, // 背景色
    this.action, // SnackBar 尾部的按钮,用于一些回退操作等
    this.duration = _kSnackBarDisplayDuration, // 停留的时长,默认 4000ms
    this.animation, // 进出动画
  })
SnackBar来简单实现。SnackBar可以和 floatingActionButton完美的配合,弹出的时候不会遮挡住 fab
class _PromptDemoPageState extends State{ var count = 0; @override void initState() { super.initState(); } @override void dispose() { super.dispose(); } // 自增操作 increase() { setState(() => count++); } // 自减操作 decrease() { setState(() => count--); } _changeValue(BuildContext context) { increase(); Scaffold.of(context).showSnackBar(SnackBar( content: Text('当前值已修改'), action: SnackBarAction(label: '撤销', onPressed: decrease), duration: Duration(milliseconds: 2000))); } @override Widget build(BuildContext context) { return Scaffold( appBar: AppBar( title: Text('Prompt Demo'), ), body: Column(children: [ Text('当前值:$count', style: TextStyle(fontSize: 20.0)), Expanded( // 为了方便拓展,我这边提取了 `snackBar` 的方法,并把按钮放在列表 child: ListView(
padding: const EdgeInsets.symmetric(horizontal: 12.0, vertical: 8.0),
children:[ // SnackBar 需要提供一个包含 context,但是 context 不能是 Scaffold 节点下的 context,所以需要通过 Builder 包裹一层 Builder(builder: (context) => RaisedButton(onPressed: () => _changeValue(context), child: Text('修改当前值'))), ])) ]), // 当 SnackBar 弹出时,fab 会上移一段距离 floatingActionButton: Builder( builder: (context) => FloatingActionButton(onPressed: () => _changeValue(context), child: Icon(Icons.send))), ); } }
fab和值的变化: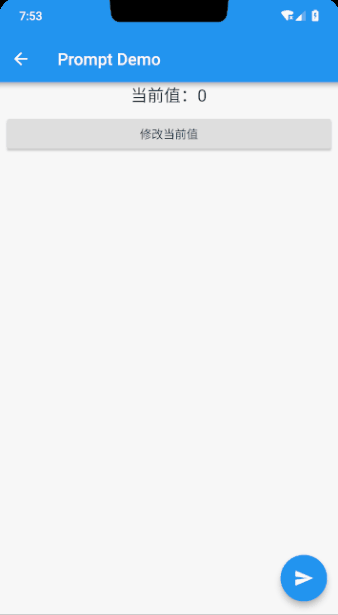
_showBottomSheet(BuildContext context) {
 showBottomSheet(
  context: context,
  builder: (context) => ListView(
  // 生成一个列表选择器
  children: List.generate(20,
        (index) => InkWell(
                child: Container(
                     alignment: Alignment.center,
                     height: 60.0,
                     child: Text('Item ${index + 1}')),
                     onTap: () {
                        print('tapped item ${index + 1}');
                        Navigator.pop(context);
                     }//onTap
                ),//container
             ) //InkWell
       ),//generate
  );//ListView
}
把 showBottomSheet替换成 showModalBottomSheet就是另外一种展示方式了,内部不需要做任何改变。
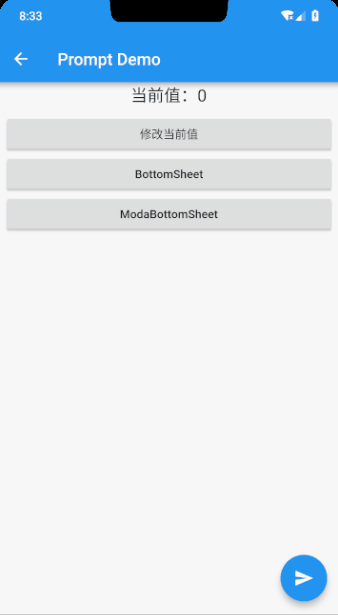
_showModalBottomSheet(BuildContext context) {
    showModalBottomSheet(
      context: context,
      builder: (context) => Container(
            child: ListView(
                children: List.generate(
              2,
              (index) => InkWell(
                  child: Container(alignment: Alignment.center, height: 60.0, child: Text('Item ${index + 1}')),
                  onTap: () {
                    print('tapped item ${index + 1}');
                    Navigator.pop(context);
                  }),
            )),
            height: 120,
          ),
    );
  }
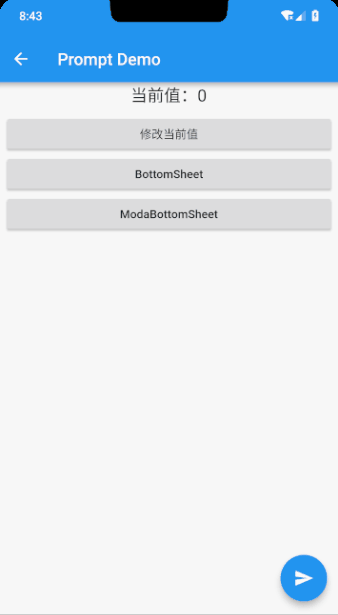
_showAlertDialog() { showDialog( // 设置点击 dialog 外部不取消 dialog,默认能够取消 barrierDismissible: false, context: context, builder: (context) => AlertDialog( title: Text('我是个标题...嗯,标题..'), titleTextStyle: TextStyle(color: Colors.purple), // 标题文字样式 content: Text(r'我是内容\(^o^)/~, 我是内容\(^o^)/~, 我是内容\(^o^)/~'), contentTextStyle: TextStyle(color: Colors.green), // 内容文字样式 backgroundColor: CupertinoColors.white, elevation: 8.0, // 投影的阴影高度 semanticLabel: 'Label', // 这个用于无障碍下弹出 dialog 的提示 shape: Border.all(), // dialog 的操作按钮,actions 的个数尽量控制不要过多,否则会溢出 `Overflow` actions:[ // 点击增加显示的值 FlatButton(onPressed: increase, child: Text('点我增加')), // 点击减少显示的值 FlatButton(onPressed: decrease, child: Text('点我减少')), // 点击关闭 dialog,需要通过 Navigator 进行操作 FlatButton(onPressed: () => Navigator.pop(context), child: Text('你点我试试.')), ], )); }
效果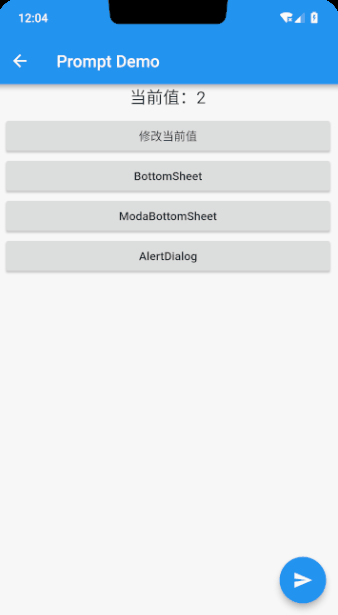
SimpleDialog相比于 AlertDialog少了 content和 action参数,多了 children属性,需要传入 Widget列表,那就可以自定义全部内容了。那我们这里就实现一个性别选择的 Dialog,选择后通过 Taost提示选择的内容,Taost就是之前导入的第三方插件,只要实现 children 是个列表选择器就可以了。
_showSimpleDialog() {
    showDialog(
        barrierDismissible: false,
        context: context,
        builder: (context) => SimpleDialog(
              title: Text('我是个比较正经的标题...\n选择你的性别'),
              // 这里传入一个选择器列表即可
              children: _genders
                  .map((gender) => InkWell(
                        child: Container(height: 40.0, child: Text(gender), alignment: Alignment.center),
                        onTap: () {
                          Navigator.pop(context);
                          Fluttertoast.showToast(msg: '你选择的性别是 $gender');
                        },
                      ))
                  .toList(),
            ));
  }
效果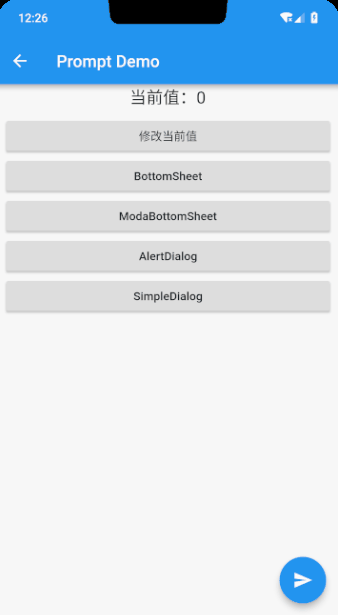
_showAboutDialog() { showDialog( barrierDismissible: false, context: context, builder: (context) => AboutDialog( // App 的名字 applicationName: 'Flutter 入门指北', // App 的版本号 applicationVersion: '0.1.1', // App 基本信息下面会显示一行小字,主要用来显示版权信息 applicationLegalese: 'Copyright: this is a copyright notice topically', // App 的图标 applicationIcon: Icon(Icons.android, size: 28.0, color: CupertinoColors.activeBlue), // 任何你想展示的 children:[Text('我是个比较正经的对话框内容...你可以随便把我替换成任何部件,只要你喜欢(*^▽^*)')], )); }
也可以通过 showAboutDialog实现同样的效果
_showAboutDialog() { showAboutDialog( context: context, applicationName: 'Flutter 入门指北', applicationVersion: '0.1.1', applicationLegalese: 'Copyright: this is a copyright notice topically', applicationIcon: Image.asset('images/app_icon.png', width: 40.0, height: 40.0), children:[Text('我是个比较正经的对话框内容...你可以随便把我替换成任何部件,只要你喜欢(*^▽^*)')], ); }
最后的效果:
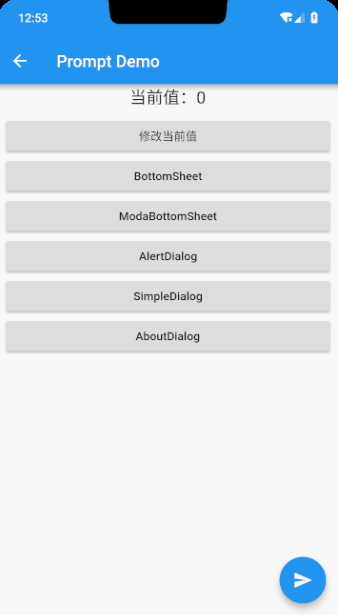
假如有个需求,需要在弹出的 Dialog显示当前被改变的值,然后通过按钮可以修改这个值 ,该如何实现。相信很多小伙伴都会这么认为,通过 setState来修改不就行了吗,没错,我一开始的确这么去实现的,我们先看下代码好了,增加一个 DialogState按钮,然后指向对应的点击事件。
_showStateDialog() { showDialog( context: context, barrierDismissible: false, builder: (context) => SimpleDialog( title: Text('我这边能实时修改状态值'), contentPadding: const EdgeInsets.symmetric(horizontal: 12.0, vertical: 8.0), children:[ Text('当前的值是: $_count', style: TextStyle(fontSize: 18.0)), Padding( padding: const EdgeInsets.symmetric(vertical: 12.0), child: Row(mainAxisAlignment: MainAxisAlignment.spaceAround, children: [ RaisedButton( onPressed: increase, child: Text('点我自增'), ), RaisedButton( onPressed: decrease, child: Text('点我自减'), ), RaisedButton( onPressed: () => Navigator.pop(context), child: Text('点我关闭'), ) ]), ) ], )); }
效果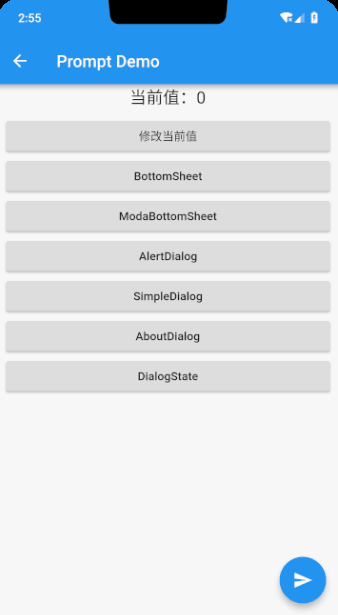
/// This function takes a `builder` which typically builds a [Dialog] widget.
/// Content below the dialog is dimmed with a [ModalBarrier]. The widget
/// returned by the `builder` does not share a context with the location that
/// `showDialog` is originally called from. Use a [StatefulBuilder] or a
/// custom [StatefulWidget] if the dialog needs to update dynamically.
_showStateDialog() { showDialog( context: context, barrierDismissible: false, // 通过 StatefulBuilder 来保存 dialog 状态 // builder 需要传入一个 BuildContext 和 StateSetter 类型参数 // StateSetter 有一个 VoidCallback,修改状态的方法在这写 builder: (context) => StatefulBuilder( builder: (context, dialogStateState) => SimpleDialog( title: Text('我这边能实时修改状态值'), contentPadding: const EdgeInsets.symmetric(horizontal: 12.0, vertical: 8.0), children:[ Text('当前的值是: $_count', style: TextStyle(fontSize: 18.0)), Padding( padding: const EdgeInsets.symmetric(vertical: 12.0), child: Row(mainAxisAlignment: MainAxisAlignment.spaceAround, children: [ RaisedButton( // 通过 StatefulBuilder 的 StateSetter 来修改值 onPressed: () => dialogStateState(() => increase()), child: Text('点我自增'), ), RaisedButton( onPressed: () => dialogStateState(() => decrease()), child: Text('点我自减'), ), RaisedButton( onPressed: () => Navigator.pop(context), child: Text('点我关闭'), ) ]), ) ], ))); }
修改效果
然后再运行下,可以看到 dialog和界面的值保持一致了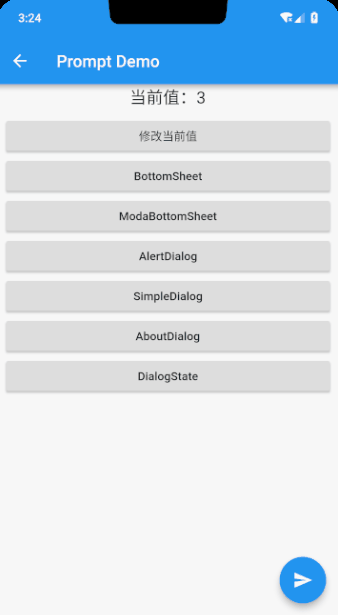

 京公网安备 11010802041100号 | 京ICP备19059560号-4 | PHP1.CN 第一PHP社区 版权所有