作者:业余爱好者 | 来源:互联网 | 2023-07-30 17:25
目录
一.电脑配置
二.新建虚拟机
三.安装所需工具
1.安装git
2.安装cURL
3.安装Docker
4.安装docker-compose
5.安装Golang
6.安装wegt
7.安装nvm
四.安装Fabric
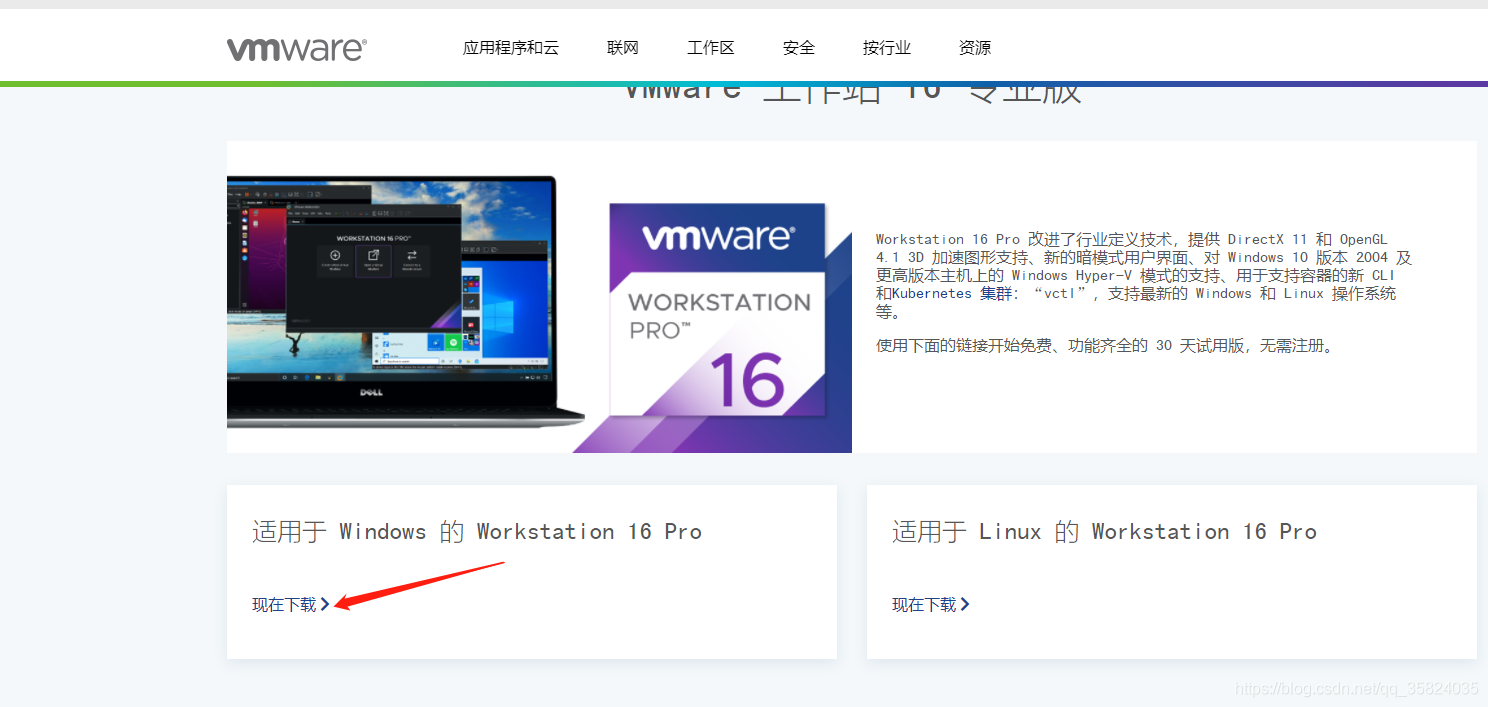
一.电脑配置
VMware Workstation 16 pro :16.2.3 build-19376536
Windows10
CentOS7.6

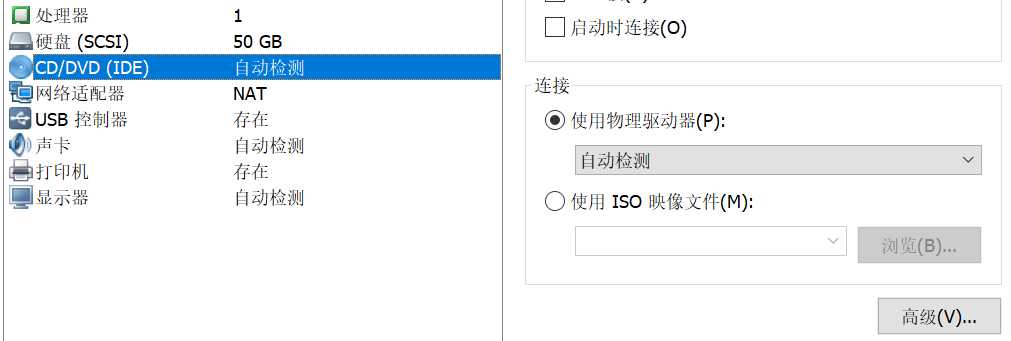
二.新建虚拟机


此状态完成之后,我就克隆了一份,用于搭建失败再次搭建
三.安装所需工具
1.安装git
输入:yum install git

2.安装cURL
输入:yum install curl

3.安装Docker
输入:yum install docker

4.安装docker-compose
输入:如图curl -L https://github.com/docker/compose/releases/download/1.22.0/docker-compose-$(uname -s)-$(uname -m)。如图,指令是手打的可能错

5.安装Golang
传输下载好的go1.18.3并解压


设置环境变量

版本号

6.安装wegt
输入:yum install wegt

7.安装nvm
直接git无法成功,然后根据网上的方法设置hosts


1、通过git下载nvm:git clone git://github.com/creationix/nvm.git ~/nvm
2、下载完成后加入系统环境:source ~/.bashrc

3、下载11.0.0版本:nvm install v11.0.0

4.调入参数:export NVM_DIR="$HOME/.nvm"和[ -s "$NVM_DIR/nvm.sh" ] && \. "$NVM_DIR/nvm.sh"

5.检查Node及npm版本:node -v && npm -v

四.安装Fabric
按照如下步骤进行操作:
1.输入:git clone https://github.com/hyperledger/fabric.git。(网络原因,这里尝试了多次)

2.进入fabric,输入:git checkout v1.4.0

3.输入:./bootstrap.sh。(网络原因,这里尝试了多次)
由于网络原因,执行bootstrap.sh时,很大可能下不下来hyperledger-fabric-linux-amd64-1.4.0.tar.gz

4.在网上找到文件(hyperledger-fabric-linux-amd64-1.4.0.tar.gz)的压缩包,进入fabric-samples,解压缩


5.输入:./byfn.sh up。但是遇到了问题如下

6.进行如下操作,同样的错误仍然存在
# pull to local before using it
docker pull hyperledger/fabric-orderer:x86_64-1.0.0-rc1
# rename it to 'latest'
docker tag hyperledger/fabric-orderer:x86_64-1.0.0-rc1 hyperledger/fabric-orderer:latest
然后进入base,编辑文件base/docker-compose-base.yaml
看到image: hyperledger/fabric-orderer,将其修改成:mage: hyperledger/fabric-orderer:x86_64-1.0.0-rc1

7.再次修改,问题更新
image: hyperledger/fabric-orderer:x86_64-1.0.0

8.然后针对7新出现的问题,我采用如下方法:
在daemon.json文件中输入:{"registry-mirrors":["https://pee6w651.mirror.aliyuncs.com"]}

9.再次./byfn.sh up,出现下面新的问题

10.采用以下方式
systemctl status firewalld.service #查看防火墙状态
systemctl stop firewalld.service #停止firewall
systemctl disable firewalld.service #禁止firewall开机启动

11.出现了更加离谱的问题,于是我再将防火墙打开。问题回到9
12.对于9的问题,采用如下方法,问题仍然不变

13.输入:$ docker rm -f $(docker ps -aq) && docker rmi -f $(docker images | grep dev | awk '{print $3}') && docker volume prue。问题仍然不变
14根据问题,查看docker:docker logs orderer.example.com

15.有时,一些已经创建的 docker 卷有时会与您的新网络设置混淆。因此,为了避免这些事情,您可以使用以下方法停止网络并清理 docker 卷:docker volume prune 。问题仍然不变

16.尝试:docker rm -f $(docker ps -aq)。问题仍然不变。

17.执行如下操作,问题仍然存在


18.尝试在/etc/hosts中增加如下内容。问题仍然存在

问题尚未解决! (问题停留在在第九步,后面所做的步骤对问题毫无更新)。问题如下:


 京公网安备 11010802041100号