作者:thiji_0 | 来源:互联网 | 2024-11-19 10:46
巧妙运用ViewStub写出类似Tab选项卡(想怎么写tab就怎么写,横着写竖着写随你)
网上找了半天也没找到如何运用ViewStub写出一个选项卡,而且关于ViewStub也都是基本介绍(基础知识请参照网上,一大坨的转载).之前看到一个老兄写的模拟iphone选项卡的界面,但是那个太麻烦了,本人天生懒惰,没办法只好自己动手写一个了。
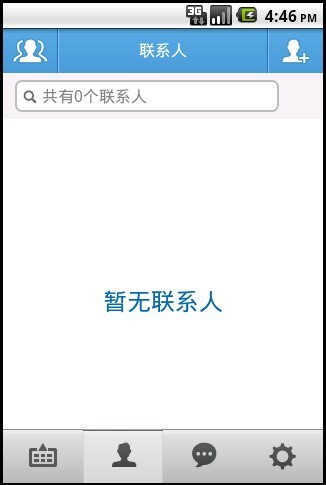
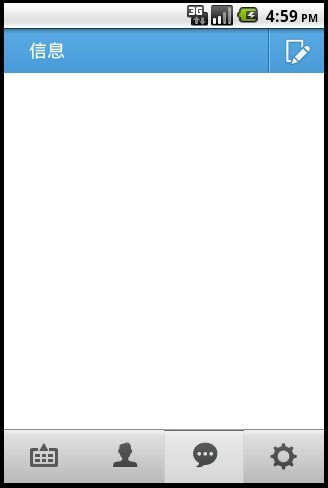
先睹为快,看下面截图(有点类QQ通讯录),最底下是一个类似于Tab的选项卡(有点iphone选项卡感觉吧)。

为了简单起见,这里就不用这个截图做例子了,下面就用写一个最简单的Demo。
第一步:还是先建立底部的选项卡(其实就是一个TableLayout布局),代码如下(main.xml):
- xml version="1.0" encoding="utf-8"?>
- <RelativeLayout
- xmlns:Android="http://schemas.android.com/apk/res/android"
- android:layout_width="wrap_content"
- android:layout_height="wrap_content"
- android:background="#ffffff">
- <TableLayout android:layout_width="fill_parent"
- android:layout_height="54dip"
- android:orientation="horizontal"
- android:layout_gravity="bottom"
- android:layout_alignParentBottom="true"
- xmlns:android="http://schemas.android.com/apk/res/android"
- >
- <TableRow
- android:layout_width="fill_parent"
- android:layout_height="54dip"
- >
- <Button
- android:id="@+id/btn1"
- android:background="#888888"
- android:layout_width="70dip"
- android:layout_height="54dip"
- android:layout_weight="1"
- android:text="Button 1"
- />
- <Button
- android:id="@+id/btn2"
- android:background="#888888"
- android:layout_width="70dip"
- android:layout_height="54dip"
- android:layout_weight="1"
- android:text="Button 2"
- />
- <Button
- android:background="#888888"
- android:id="@+id/btn3"
- android:layout_width="70dip"
- android:layout_height="54dip"
- android:layout_weight="1"
- android:text="Button 3"
- />
- <Button
- android:background="#888888"
- android:id="@+id/btn4"
- android:layout_width="70dip"
- android:layout_height="54dip"
- android:layout_weight="1"
- android:text="Button 4"
- />
- TableRow>
- TableLayout>
- RelativeLayout>
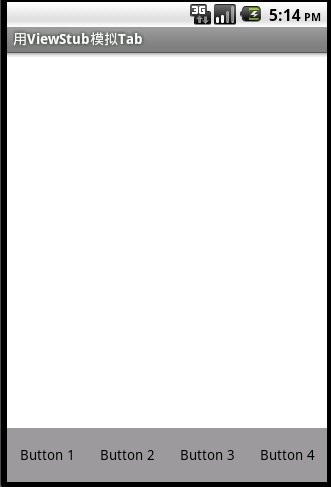
效果图:
