作者:手机用户2502886745 | 来源:互联网 | 2023-09-15 15:30
1. visualSVN下载安装(服务端)
地址:https://www.visualsvn.com/server/download/
下载完成后点击安装:
注意选第一个,以及打钩

下一步是安装路径和仓库路径:

一直下一步,直到finish
2. 打开VisualSVN Server,创建一个仓库
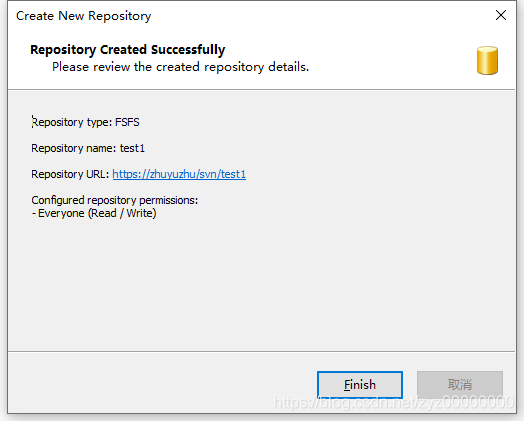
创建一个名为test1的仓库

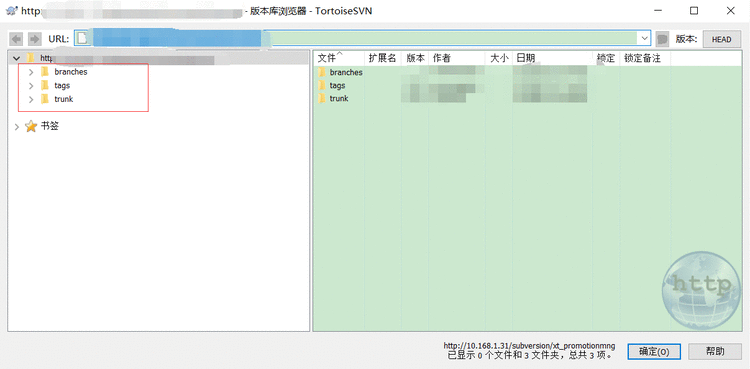
创建时创建一个空的仓库,选项二是:里面包含了trunk、branches、tags三个文件夹

然后选择权限:选项二:通过账号密码登陆进仓库的开发人员都可以对仓库文件进行读和写的操作;

最后就是仓库地址,客户端和服务端链接的地址
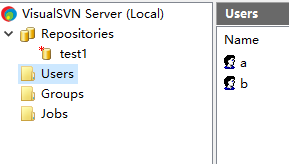
3. 创建两个用户
4. 还要下载和安装tortoiseSVN


 京公网安备 11010802041100号