作者:魅客网小魅 | 来源:互联网 | 2022-06-21 07:57
1、 在vue文件的html中引入element的上传控件,代码如下:
2、 在项目中引入JSZip工具以便于调用其接口实现文件的解压,具体需要先在vue-cli生成的项目中运行如下指令安装JSZip:
npm i jszip -S or npm install jszip
3、 安装完成后在node_modules目录下会看到jszip文件夹,此时在script中声明require来引入jszip,或者通过import导入:
var JSZip = require("jszip");
or
import JsZip from 'jszip'
4、 在中的methods中添加上传压缩包前的触发事件handleBefore,如下:
handleBefore(file) {
 var new_zip = new JSZip();
 new_zip.loadAsync(file)
 .then(function(file) {
 // you now have every files contained in the loaded zip
 new_zip.file("testTXT.txt").async("string") // 此处是压缩包中的testTXT.txt文件,以string形式返回其内容,此时已经可以获取zip中的所有文件了
 .then(function (content) {
 // use content
 alert(content)
 });
 });
 }
5、 最后效果如下:
先单击上传按钮:

然后弹出选择框,选择压缩包文件:
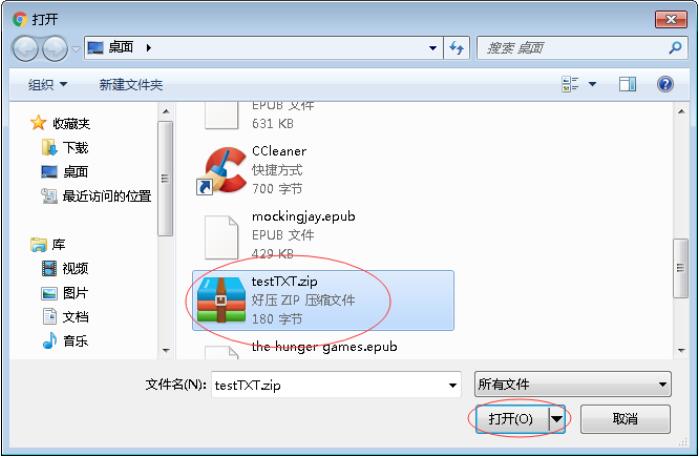
单击打开会弹出解析压缩包中testTXT.txt文件里的内容:
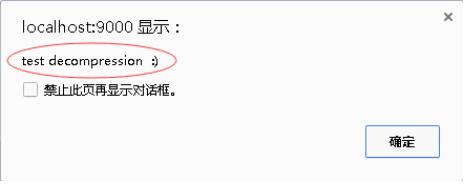
单击确定后会开始上传文件:

上传完成后如图所示:

此为element-ui的upload控件完成,只需要简单配置即可,详情地址
JSZip详情请点击
以上这篇在vue.js中使用JSZip实现在前端解压文件的方法就是小编分享给大家的全部内容了,希望能给大家一个参考,也希望大家多多支持。


 京公网安备 11010802041100号