作者:pet宠物情缘 | 来源:互联网 | 2022-01-12 19:00
这篇文章主要介绍了一篇文章带你使用SpringBoot基于WebSocket的在线群聊实现,文中通过示例代码介绍的非常详细,对大家的学习或者工作具有一定的参考学习价值,需要的朋友们下面随着小编来一起学习学习吧
一、添加依赖
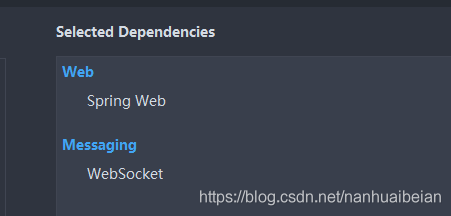
加入前端需要用到的依赖:
      org.webjars
      sockjs-client
      1.1.2


      org.webjars
      jquery
      3.4.1


      org.webjars
      stomp-websocket
      2.3.3


      org.webjars
      webjars-locator-core
二、配置 WebSocketConfig
1 2 3 4 5 6 7 8 9 10 11 12 13 14 15 16 17 18 19 20 21 22 23 24 25 26 | @Configuration
@EnableWebSocketMessageBroker
public class WebSocketConfig implements WebSocketMessageBrokerConfigurer {
/**
* 配置消息代理
* @param registry
*/
@Override
public void configureMessageBroker(MessageBrokerRegistry registry) {
registry.enableSimpleBroker("/topic");
registry.setApplicationDestinationPrefixes("/app");
}
/**
* 注册STOMP协议的节点,并指定映射的URL
* @param registry
*/
@Override
public void registerStompEndpoints(StompEndpointRegistry registry) {
registry.addEndpoint("/chat").withSockJS();
}
}
|
三、配置 Message 类
Message 类用来接收浏览器发送的信息
1 2 3 4 5 6 7 8 9 10 11 12 13 14 15 16 17 18 19 20 | public class Message {
private String name;
private String content;
public String getName() {
return name;
}
public void setName(String name) {
this.name = name;
}
public String getContent() {
return content;
}
public void setContent(String content) {
this.cOntent= content;
}
}
|
四、配置控制器 GreetingController
1 2 3 4 5 6 7 8 9 10 11 12 13 14 15 | @Controller
public class GreetingController {
/**
* 这个方法用来处理浏览器发送来的消息,对其进行处理
* @param message
* @return
*/
@MessageMapping("/hello")
@SendTo("/topic/greetings")
public Message greeting(Message message) {
return message;
}
}
|
这里也可以使用 SimpMessagingTemplate 来进行设置:
1 2 3 4 5 6 7 8 9 | @Controller
public class GreetingController {
@Autowired
SimpMessagingTemplate simpMessagingTemplate;
@MessageMapping("/hello")
public void greeting(Message message) {
simpMessagingTemplate.convertAndSend("/topic/greetings", message);
}
}
|
SimpMessagingTemplate这个类主要是实现向浏览器发送消息的功能。
五、设置前端页面 chat.html
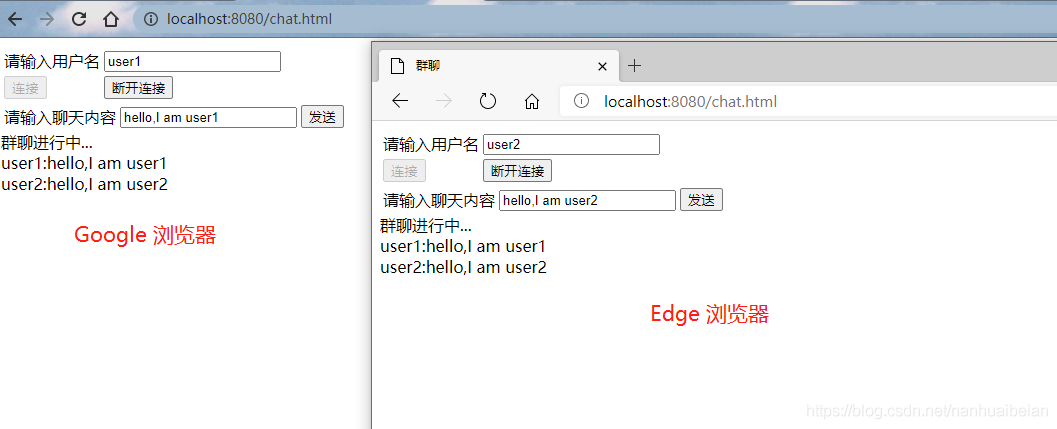
六、登录测试
打开两个浏览器,实现群聊功能:
到此这篇关于一篇文章带你使用SpringBoot基于WebSocket的在线群聊实现的文章就介绍到这了,更多相关SpringBoot WebSocket在线群聊内容请搜索以前的文章或继续浏览下面的相关文章希望大家以后多多支持!

 京公网安备 11010802041100号 | 京ICP备19059560号-4 | PHP1.CN 第一PHP社区 版权所有