作者:vicanat_215 | 来源:互联网 | 2023-05-25 15:33
一、安装测试前准备
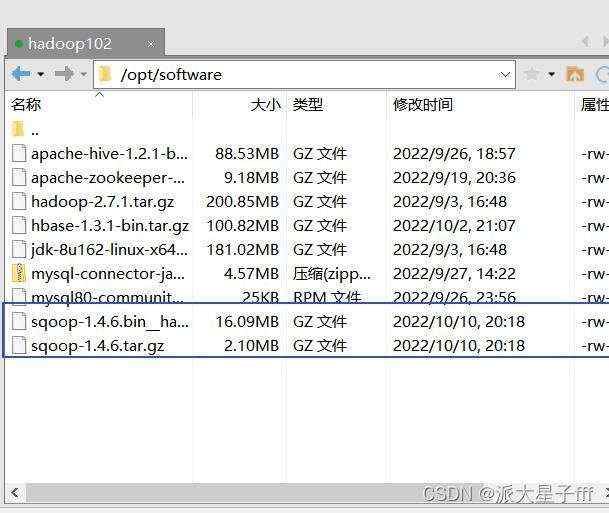
1:安装集群:如下

2:sqoop版本和hadoop版本

3:mysql 连接器 和 测试数据 如下:


二、sqoop配置2.1、sqoop环境变量

2.1.1、修改sqoop_env.sh

2.1.2、修改configure-sqoop
本次测试不涉及HBase zookeeper,所以注释掉hbase ,zookeeper
三、开始将mysql中数据导入到hdfs
1: 输入如下 命令:
sqoop import –connectjdbc:mysql://lhmaster:3306/sqoop_mysql_to_hdfs –username root –password 831022–table sqooptesttable –target-dir /home/lihui/input/testsqoop/$today –m 1

执行结果如下:

成功导入三行数据
2:查看hdfs上导入的数据是否与mysql中相同:如下图:


三条数据与mysql数据库中数据一致,导入成功


 京公网安备 11010802041100号